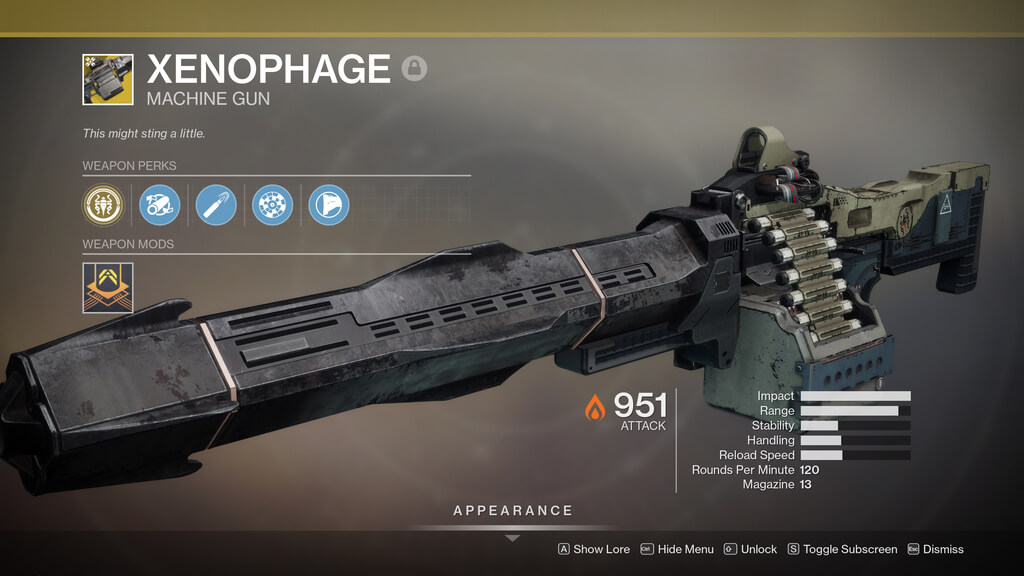
Destiny 2: Shadowkeep’s Festival of the Lost has finally arrived! It has also brought a secret Exotic quest. The weapon is at the center of the quest, and is referred to as ‘Xenophage Exotic machine gun’. Though, before you get your hands on this monster, you will have to venture on a few complicated quests to find the gun. Here is how you get the Destiny 2 Xenophage Quest:
Step 1: The Journey
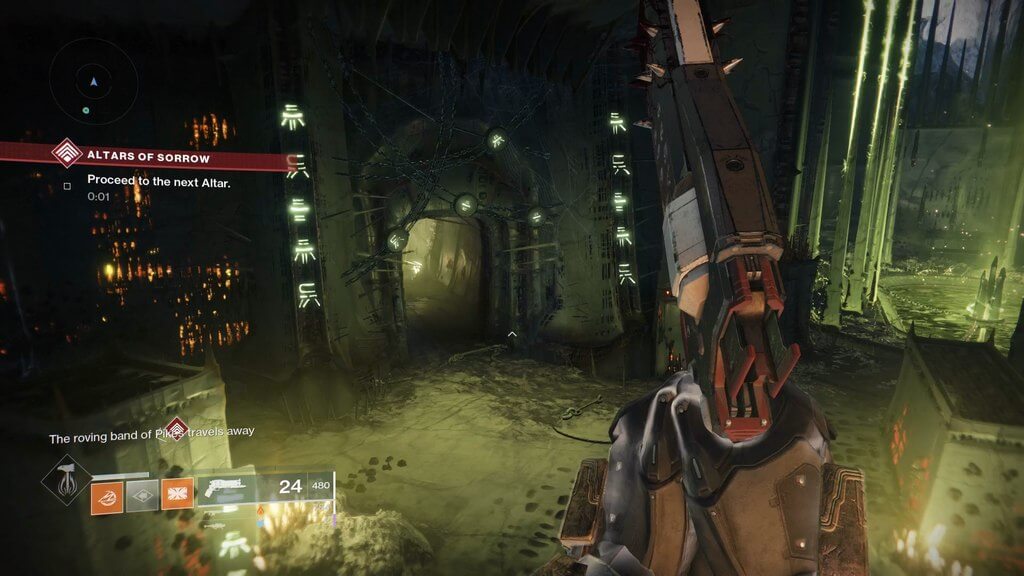
The very first step is all about finding the quest so that you can get started. This quest is hidden on the moon, inside Sorrow’s Harbor to be precise. You just have to enter the tower and follow the tunnels once you land at the harbor. As you are following the tunnels, you will eventually reach the light in the middle of the cave.
Upon reaching this light, you simply have to walk past it and leap into the hidden hole, which is in the wall to the right. As you will follow the tunnel inside the hole, you will eventually reach a platform from which you can see the pyramid from above. The pyramid will have two statues on either side. You will need to interact with each of the four statues.
You can get started with the statue which is the closest to the entrance on the right side, and subsequently the far-right statue, and then the far left statue and lastly the close one on the left side. While this code worked for many, there have been several reports of numerous other codes on the Destiny 2 subreddit.
After you have entered the code correctly, a new chest will appear on the balcony. As you will open the chest, you are greeted with a new quest that will send you onto the next stage of the quest.
Step 2: Anchor of Light
The next step of the quest will send you to the Anchor of Light. From there, you will be required to find a tiny ball of light. With that small ball, you will have to light some of the lecterns which are hidden around the vicinity. You will be able to see the location of the ball of light on the map. The green arrow will indicate its location on the map.
The first lectern you will be required to trigger is directly next to where the light spawns. From there, you just have to pick up the light and walk it over the lectern. Another thing that you need to know is that all the lecterns look very identical, but you will have to light them up in a specific order.
Once you have lit the first lectern, you will get sixty seconds to make it to the next one. This clock will reset each time you will light up a new lectern. While most of them are quite easy to find, the fourth one can be complicated and tricky. It is upon the third level of the tower in the Anchor of Light.
As you will finish lighting all the six lecterns, you will receive a message that reads, “You are ready to emerge from the dark.” Once you get this aforementioned message, you will get an objective indicator that will lead you to the final location for this step.
Deposit the light where the game tells you to, and you will get to the next step in the Xenophaege quest.
Step 3: The Four Fragments
This stage of the quest will send you to collect fragments from each Lost Sector on the moon. to get these bits, you will need to play through the Lost Sectors just like you would normally do. As you play, you will reach the end, there you will find a puzzle which will be along the wall near each exit of each Lost Sector.
These puzzles contain a variety of symbols. You will need to make them all match to get the said fragment.
You need to kill all enemy units you encounter to complete the Lost Sector. Once cleared, get inside the open door near the chest. You’ll come across a wall with the Hive symbols. Other symbols include the Archer’s Line, Hellmouth, Sorrow’s Harbor, and Anchor of Light.
Each one has a corresponding shooting order, such as top left, then bottom left, and middle-middle to middle right for Archer’s Line. The symbols will keep changing their orientation for seconds, so you must wait before shooting.
Each fragment will entail an intricate solution. Though, fortunately, a Discord user namely ‘Haiku’ has helpfully put them all together.
If you’re struggling to get through this leg of the Xenophage Quest, it can’t hurt to turn to game boosting services like those at KBoosting.com and many others. These offer guidance on how to overcome finnicky stages by pairing you with a pro. They can teach you the right steps and tricks to help you get more weapons and overcome each stage of the game.
Step 4: Enter the Dungeon
For the fourth stage of the quest, you will be required to head into the game’s new pit of Heresy dungeon. In order to get access to the dungeon, talk to Eris, and complete her short questline. You will need to find a hidden symbol-less door inside the dungeon, once you have done Eris’ short questline. The door is on a wall that is full of doors and symbols.
Find the specified door and interact with it. Once you have done that, you will be done with this section of the quest.
Source: futurecdn.net
Step 5: The Pariah
The fifth and the last stage will take you to the room near the fight with the Pariah Ogre which is inside the dungeon. On the cliffs which are near the encounter, you will be required to droop down till you see a ledge that has a small plate on it. You simply have to stand on the plate and automatically three platforms will appear. Jump on these platforms— you can easily take as much as time you require; these platforms don’t disappear after a particular time limit— and you will eventually come to light on the last platform.
Just grab the light and take it to a door with fire pits that you should fight in the side of the nearby tunnels. The door will eventually open and will lead you to the final boss.
When you are fighting the boss, you will be assigned a ‘dread’. Your dread will be relative to one of four different elements, which are Arc, Solar, Neutral, or Void. Once you know which dread you have, you can pick up the ball in the middle of the chamber and plunge it near the symbol which represents the dread you have. After you dunk the ball, you will get a buff and you will easily be able to harm the boss with the elemental weapon the lines up with your dread, with Neutral being Kinetic.
Once you have killed the final boss, you can return to Eris and she will present you with your brand new shiny Xenophage. There’s no need to complete the Pit of Heresy because reaching this part is already enough.
A player can earn points and level up to acquire the rarest weapon in the Trials of Osiris. The Whistler’s Whim is the most-prized weapon that players want to acquire in Destiny 2. And the journey isn’t like walking in the park.
With the Veist Stinger, Whim’s original trait gives bows faster draw speed. Whim also possesses the Killing Wind, so the player has a vaster weapon range. Once you obtain the Kill Clip, expect to accelerate your weapon’s damage output.
That was all about Destiny 2 Xenophage Quest. The game is indeed an exciting one and many players are excited about it. We hope this article has served its purpose and helped you in getting the insights.
In case You Missed: