Gone are the days of a clunky third-party application and paper notebooks strewn here, there, everywhere! At long last, Apple blessed us with a native Journal app for iOS 17, and it’s changing the way we scribble every day. Among the smooth interface and playful prompts, there’s a whole new world of secret options to be discovered.
In this blog post, we explore the 10 juiciest tricks and tips for using an iPhone to create your mind map heaven. If you’re an experienced writer or new to journaling, this blog is your key to tapping into the true potential of the Journal app in iOS 17. Therefore, pick up your iPhone and get cozy as you set off for a time of self-exploration.
10 Tips to Use Journal App on iPhone
1. Get Creative with Media Content and Attachments
Your iPhone lets you create individual journal entries that include text, photos, videos, and camera shots. When you insert media attachments to your journal, you make it look more rich and visually appealing. The number of pictures and videos you attach to an individual post is completely up to you.
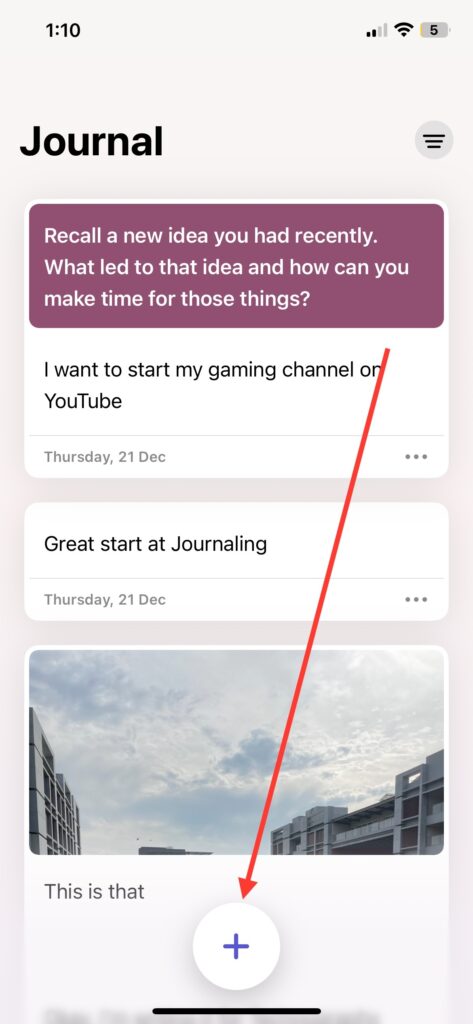
If you want to add media to your journal, tap the ‘Create New’ entry button > add pictures from the Photos app, and they will appear. Apart from photos and videos, you can add audio recordings, places you’re visiting and even take pictures directly.
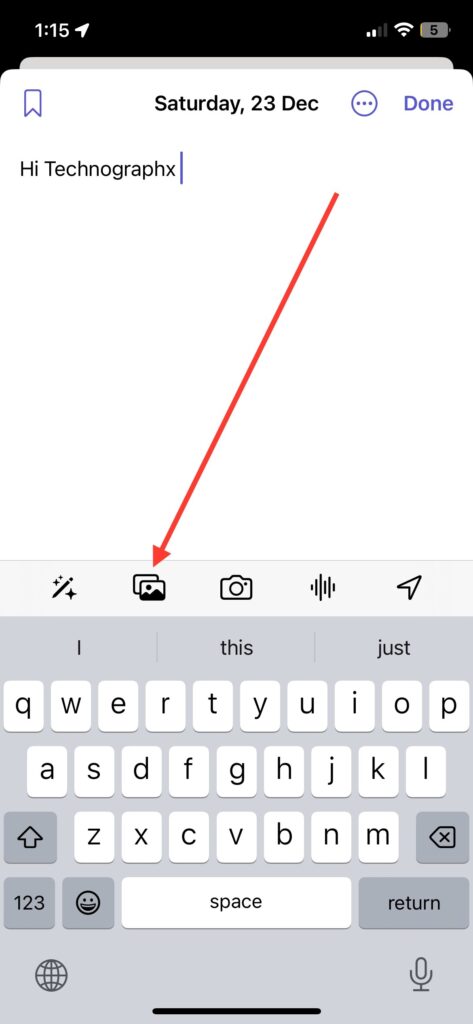
- Audio recordings: Capture ambient sounds, snippets of conversations, or your voice notes to add a different dimension to your entry. To add an audio recording, create a new entry and select the Audio Recording button to get started.
- Location: Add your current location or places nearby to give your journal entry a sense of adventure. To tag the location with your journal > tap the Location icon and choose from available nearby suggested places.
You will have fun using such types of attachments not only because they make your entries appear rich but also because they can add some flair to them.
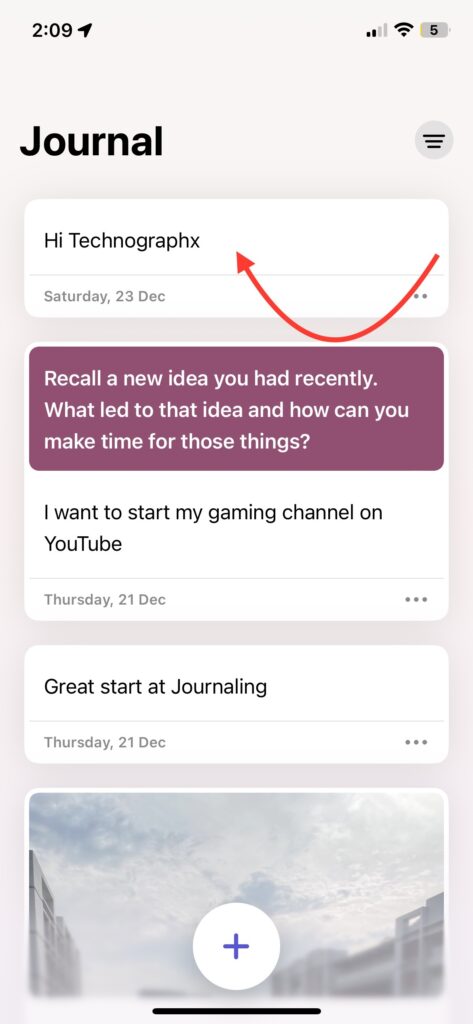
2. Bookmark Your Favorite Journal Entries
Bookmarking your favorite entries in the iOS 17 Journal app is a breeze and comes in handy when you want to easily revisit entries with special significance. Bookmarks are a great way to organize your journal and prioritize entries that hold meaning for you. You can use them to mark milestones, profound thoughts, or simply passages that resonate with you.
There are two ways to bookmark a journal post. Here’s how to do it:
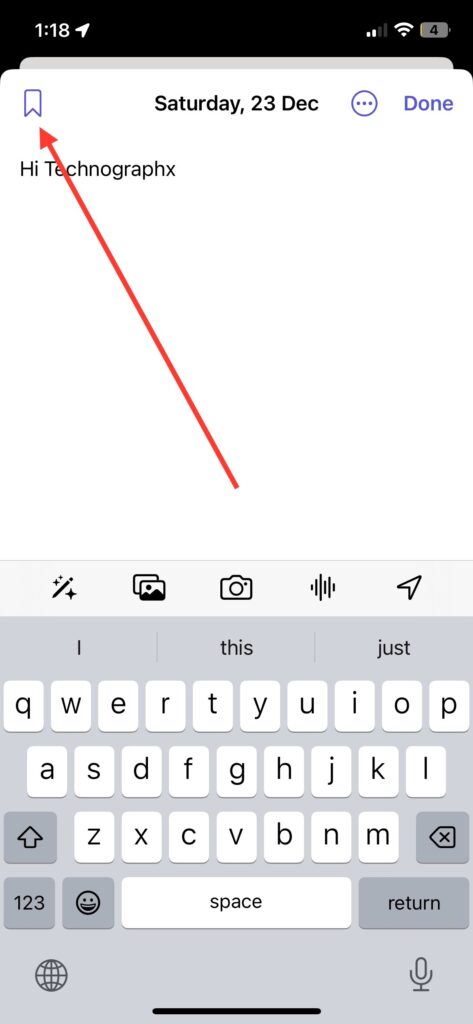
- While Creating or Editing an Entry:
Tap the Bookmark icon: Look for the little star icon in the top left corner of the screen. A single tap will add the entry to your bookmarked list.
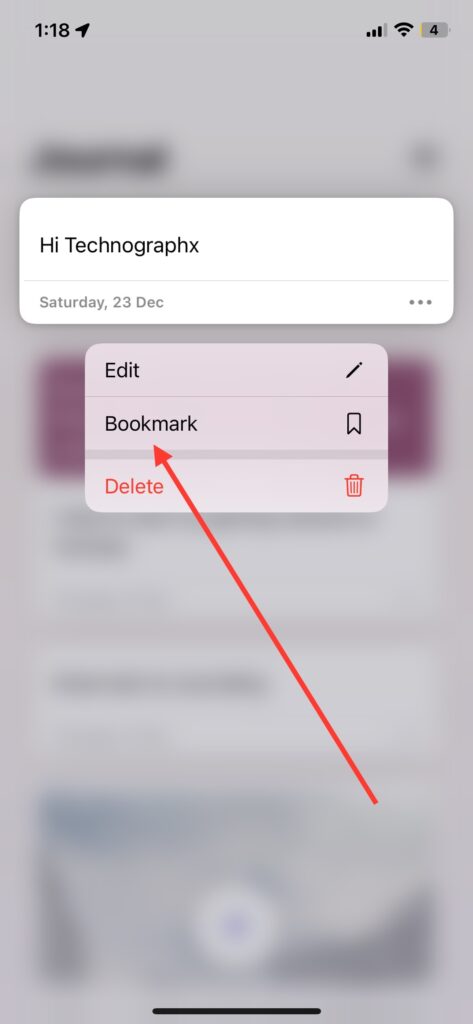
- From the List of Entries:
Press and hold an entry: This will bring up a context menu. Choose “Bookmark” from the options. Or, swipe right on an entry: This will reveal a row of buttons. Tap the bookmark icon to mark the entry.
3. View/Sort Journal Entries by Images, Locations, and Text
There are times when it feels like your Journal is clingy and untidy, and your entries are all over the place. When that happens, sorting and viewing entries based on a particular category will help organize everything. If you want to view only journal entries that have media attached to them, you can do so by filtering. If you want to view only entries with your personal reflections, you can select this timeline view.
To sort entries:
1. Launch the Journal app on your iOS device.
2. Now, tap the sorting icon (three horizontal lines) in the top right corner of the app.
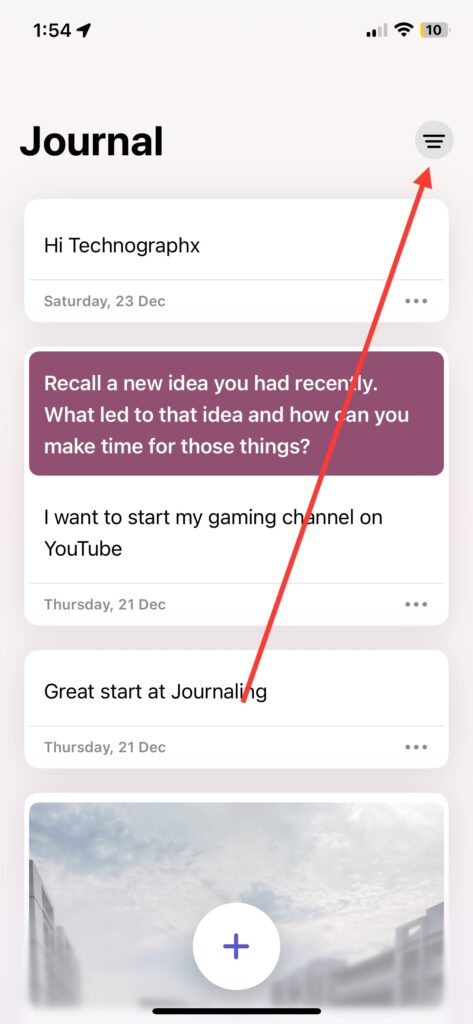
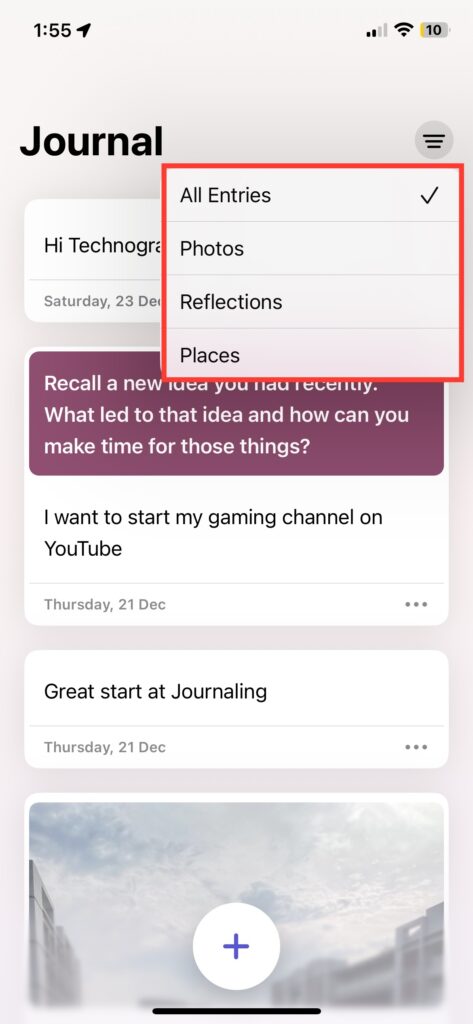
3. Here, choose the right option to display your Journal entries under that particular view.
4. Lock Your Journal Using a Passcode and Face ID
In all honesty, you don’t want anyone spying on your Journal app on your iOS device, as it’s like your private diary. Thanks to Apple, you can lock your Journal entries so no one can access them without your consent. It’s an indeed useful feature, and below are the steps for securing it with a passcode and Face ID or Touch ID.
To set up a lock for it,
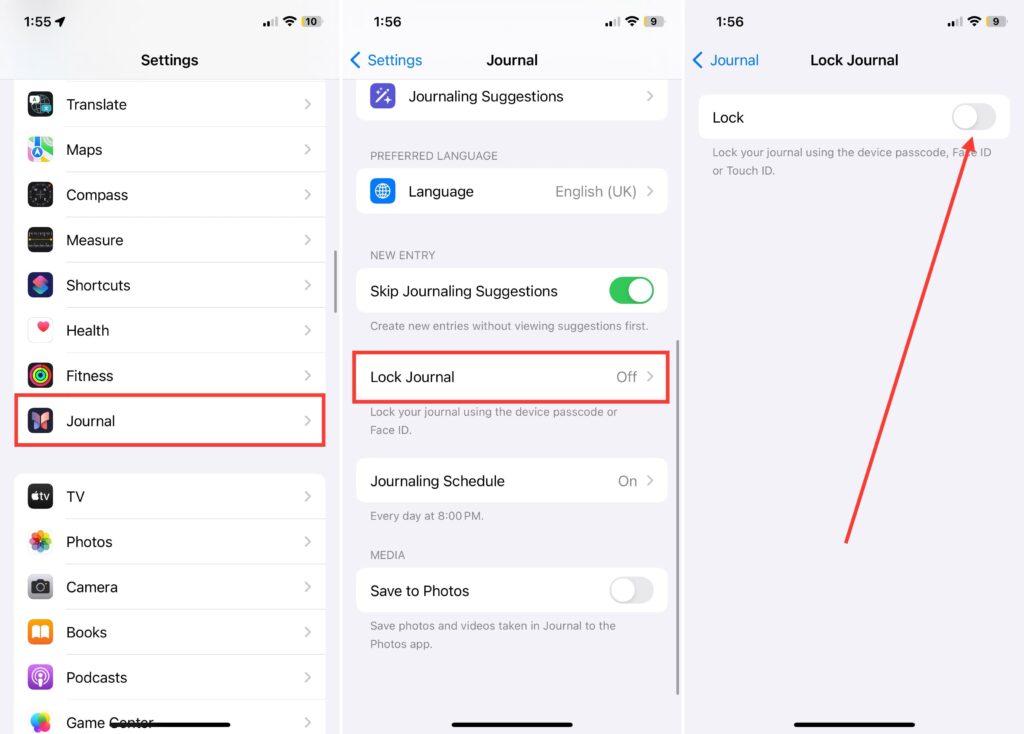
1. Open the Settings app on your iPhone.
2. Scroll down and head over straight to Journal settings.
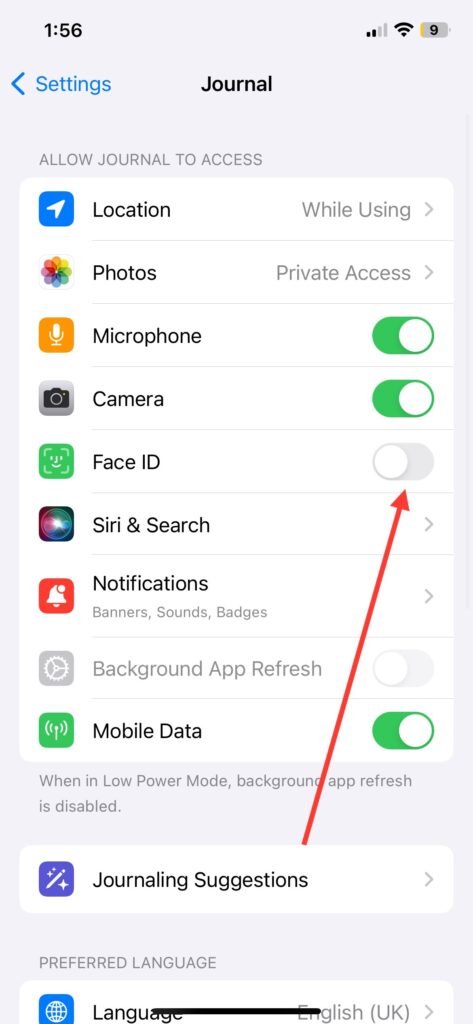
3. Here, scroll down and choose the Lock Journal option.
4. Lastly, toggle on the switch for Lock and set the duration for lock by going into Require Passcode settings.
5. In the end, toggle on the switch for Face ID in the same Journal settings.
Your personal diary on your iPhone is now locked and no one can access it but yourself.
5. Turn on Recommendations in the Journal App
Occasionally, you feel the urge to write something but don’t know what to write. Whether it was a good or a bad day, you are having trouble expressing yourself. When this happens, use the Journal app’s recommendations which suggest writing things down or attaching an activity based on your iPhone usage.
To turn on recommendations,
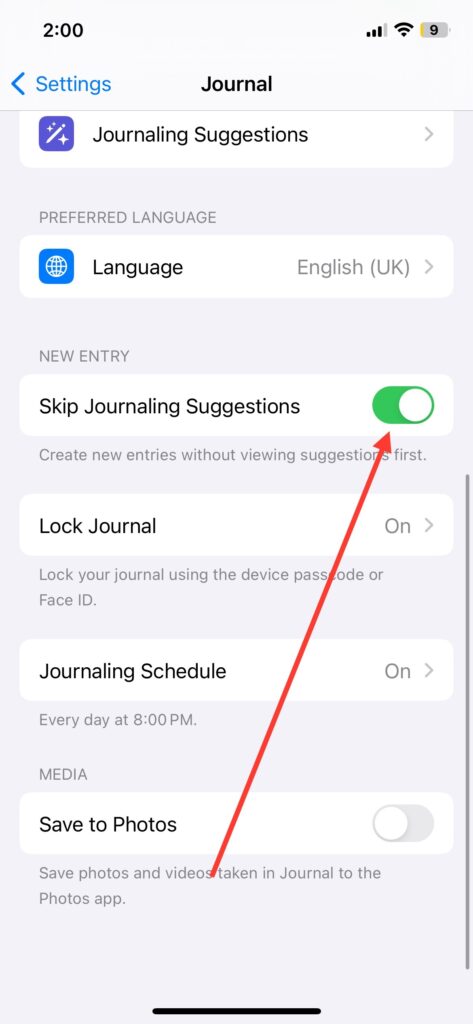
1. Launch the Settings app and go to Journal settings.
2. Here, toggle on the switch for Skip Journaling Suggestions. ( ‘Turn On Journaling Suggestions’ on some devices)
After activating it, the Journal app is ready to help you capture the best iPhone moments you’ve had.
6. Embrace Recommended Entries in Journal App
The “Recommendations” feature in the iOS 17 Journal app aims to spark your writing and overcome the blank page blues. It offers two types of suggestions:
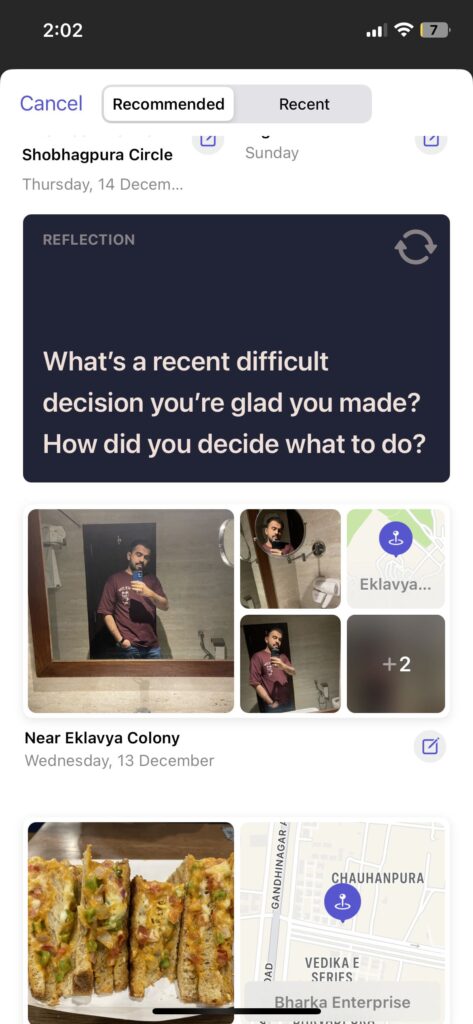
Recent: These recommendations are made according to your recent activity and the information from other applications installed on your phone. The Journal, for instance, may tell you to write about your experience visiting a museum. It will also notice if you take a picture, receive an email or visit a place and give reminders to talk about it-such as asking what kind of experience you had with that exhibit in the museum.
Reflections: These are all open-ended prompts that encourage everyone to reflect on themselves. They’re not connected to a particular event but explore feelings, personal memory, and the search for self. For instance, ask people things like what they’re really grateful for or a turning point in their lives.
Journaling with recommended entries is usually more enjoyable and makes your experience easier, as well as making your journal look more aesthetic.
7. Set a Journaling Schedule
Building a consistent journaling habit can be a challenge, but the iOS 17 Journal app’s built-in journaling schedule is here to help! With your journaling schedule set, you’ll be gently reminded to put pen to paper (or fingers to keyboard) and capture your thoughts and experiences. To set a schedule to remind you to write in your Journal,
1. Launch the Settings app on your device and select Journal.
2. Now, scroll down to the end of the screen and choose Journaling Schedule.
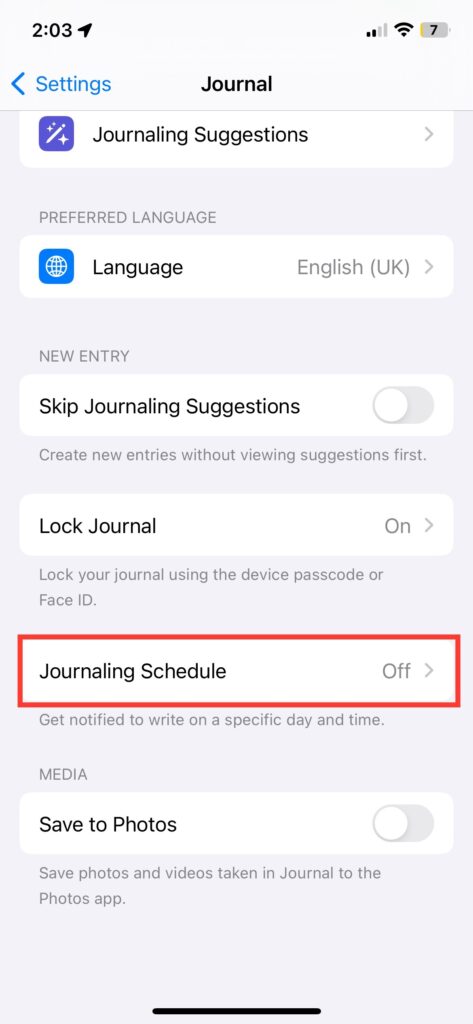
3. Here, toggle on the switch for Schedule.
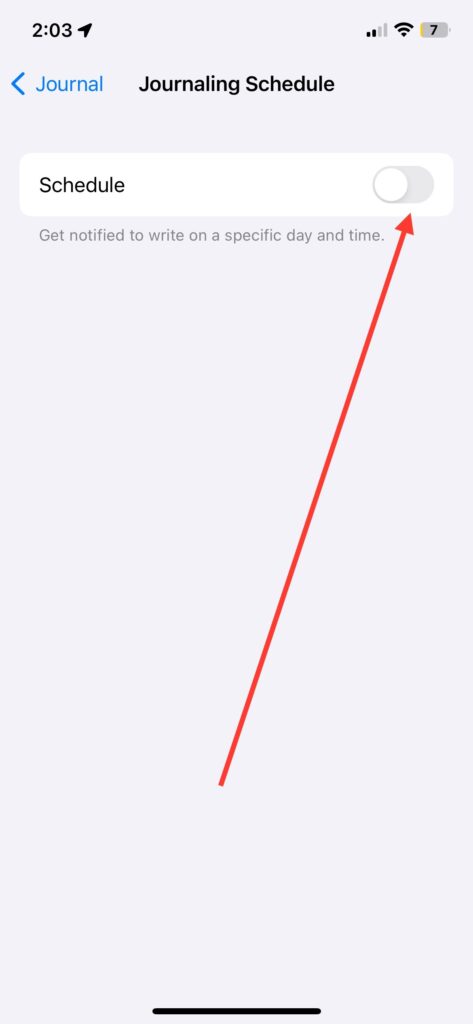
4. Below that, select the right time and days for the schedule.
Consider trying variations and tweaking the schedule if needed. Find what works best for you and your lifestyle. Journal regularly to reap the benefits and build a consistent practice!
8. Set Custom Date for Journal Entries on iPhone
Your day is not the same every day, and you may want to jot down what happened yesterday. If you don’t have time to write down thoughts every day, you can write an entry any day and specify a custom date in the Journal app.
Here’s how to set a Custom Date for a journal entry.
1. Open the Journal app and create a new entry.
2. Look for the three dots located next to the entry date at the top right corner and select it.
3. From the pop-up menu, select Custom Date.
4. Choose your desired date using the calendar picker and hit the Done option at the top.
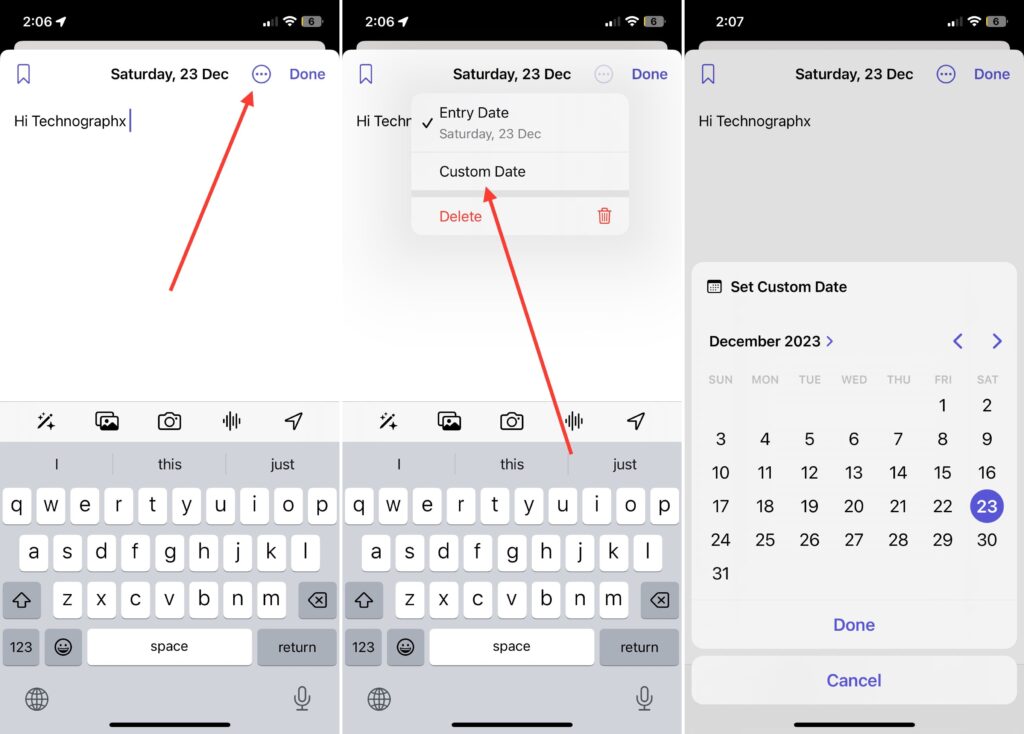
The date of your entry will be updated and set only for that date. Whether you are writing about a past event or planning for the future, you can easily customize the date of your journal entries.
9. Save Pictures Taken in Journal App to Camera Roll
There are times when you’re jotting down your best thoughts in the Journal app and you want to capture something beautiful around you. If so, you can capture instantly using Journal’s camera feature. When you capture those beautiful moments directly using the Journal app, you will also be able to save them to your iPhone’s Camera Roll. To do that,
1. Launch the Settings app and head over to the Journal settings.
2. Again, scroll down to the end of the screen and toggle on the switch for Save to Photos.
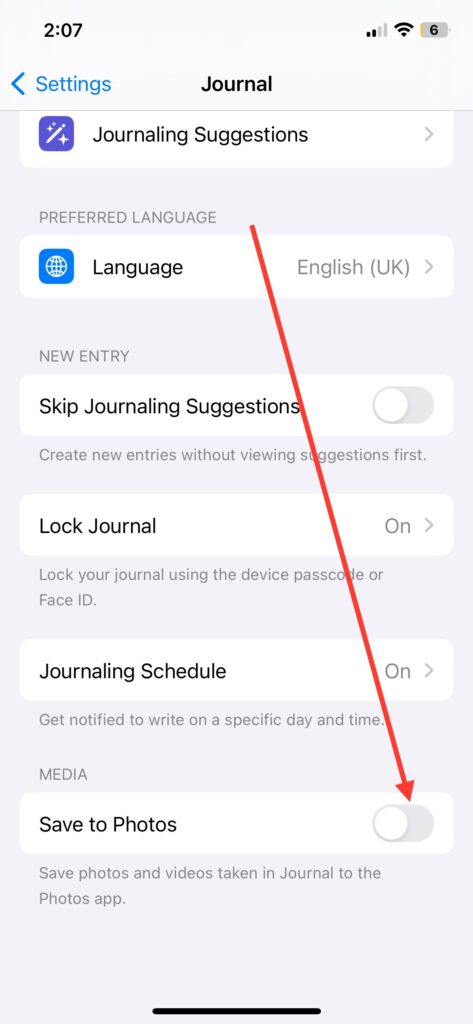
Now, every picture you take in Journal will automatically be saved in the Photos app on your iOS device.
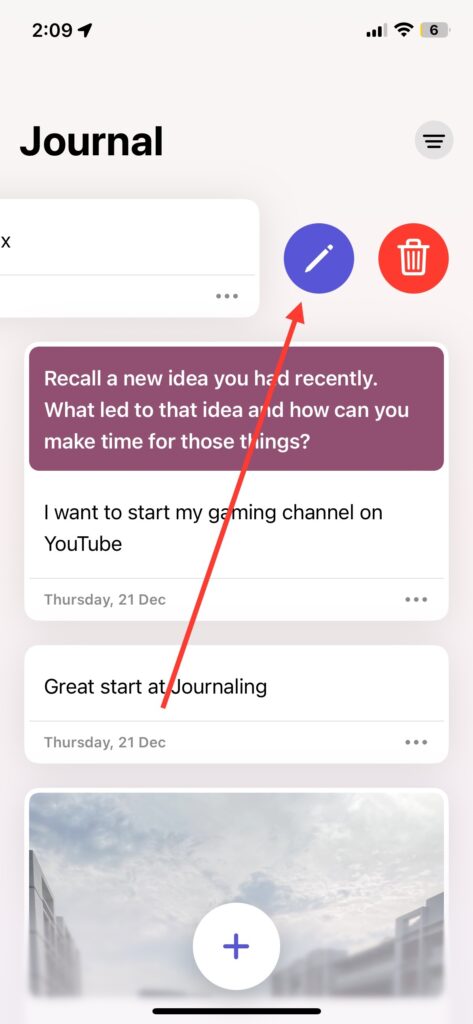
10. Edit Journal Entries on iPhone
A journal is a safe space where you can express your thoughts and feelings openly and honestly. If you feel your entries need to be edited, don’t be afraid to make changes. During the editing process, you can reflect on your thoughts and feelings, resulting in meaningful and personal entries. Here’s how to edit your entries on your iPhone.
To edit your journal entry:
1. Open the Journal app on your iPhone.
2. Find the journal entry that you want to edit
3. Now, swipe left on the journal entry you want to edit.
4. Lastly, select the Edit button from the options that appear.
This way, you can edit any entry as many times as you wish until it appears perfect in your opinion.
Conclusion:
That’s it then! This post provides a demonstration of how easy and effective it is to keep a journal on your iPhone using the newly released software. The aim of this article is to provide you with all the tips and tricks that will make journaling easier and more interesting. Explore every part of the Journal app on your iPhone, and feel free to experiment.
Write your thoughts as they come and begin to trace your life’s happiness and sadness. Grab your iPhone, let go of your imagination, and shoot for the stars.
For more information: