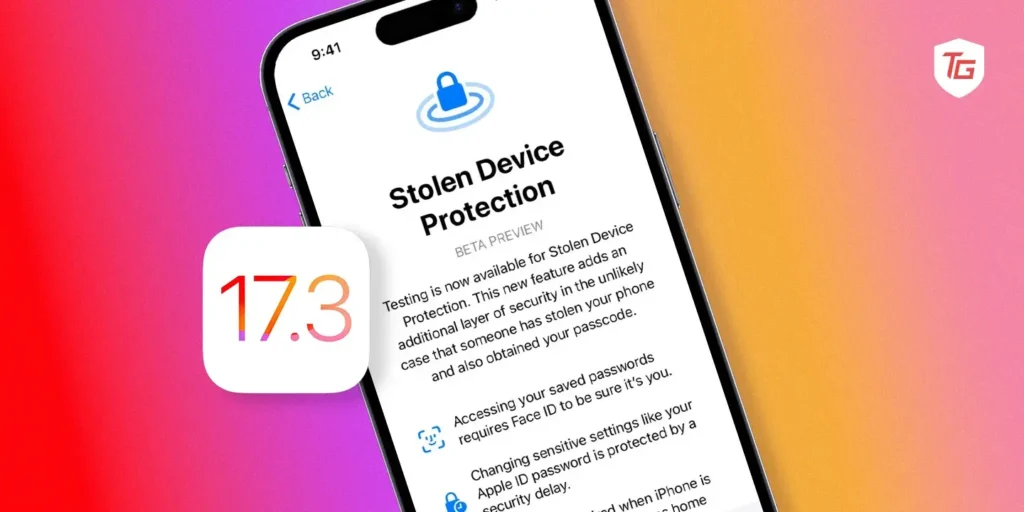
When your phone is stolen, there’s nothing you can do about it. It’s a gut-wrenching experience, like your mini brain and social life just vanished into thin air. Photos, messages, embarrassing late-night tweets – all at the mercy of some random stranger. But hold on, before you spiral into an emotional breakdown, iOS 17.3 has your back (literally) with its shiny new Stolen Device Protection feature.
Basically, it’s your phone’s superhero companion. When something goes wrong, it comes out and saves the day. Here’s how this feature works. We’ll tell you how to set it up and then track your missing phone like a tech-savvy detective.
Pre-Requisites:
- iOS 17.3: You need to be running this latest version of iOS. If you haven’t already, head over to Settings > General > Software Update and get your phone up to speed.
- Beta Program (Optional): While Stolen Device Protection is rolling out widely, it might still be in beta on some devices. To confirm availability, go to Settings > General > About > iOS Beta Program. If it’s available, enroll and update to the latest beta version.
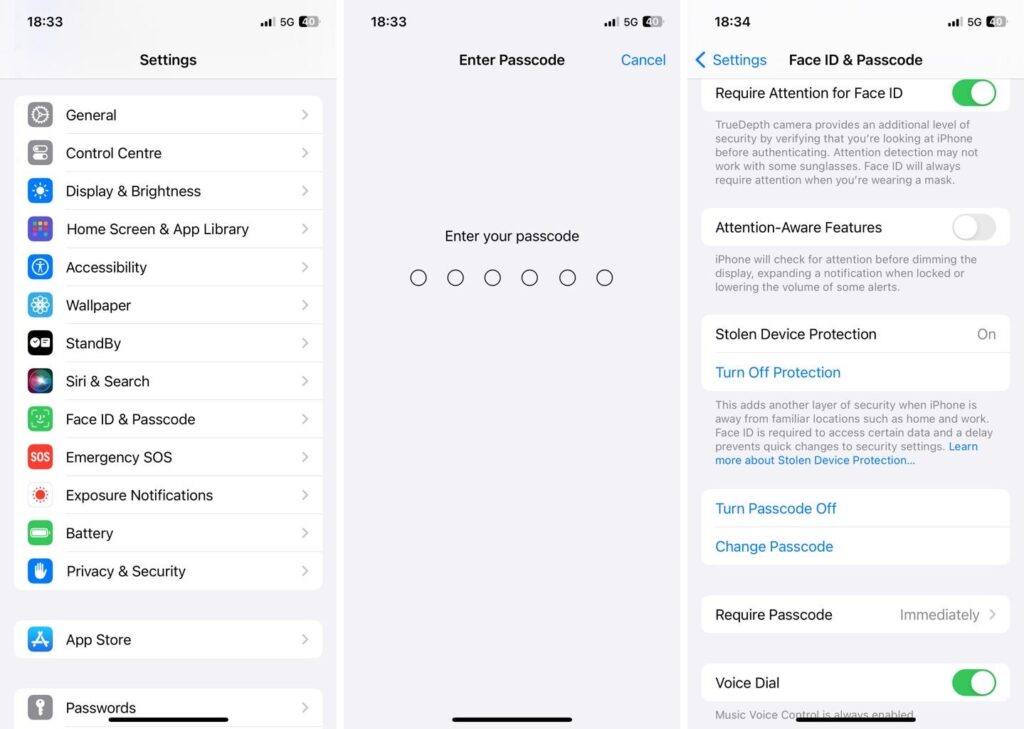
How to Enable Stolen Device Protection on iPhone
Here are easy steps to turn on Stolen Device Protection on your iOS device.
1. Launch the iPhone Settings app on your iOS device.
2. Swipe down and tap on Face ID & Passcode (or Touch ID & Passcode on older models).
3. Enter your passcode to unlock the settings.
4. Scroll down again and find the Stolen Device Protection toggle. It’s new, so you shouldn’t miss it!
5. Tap the toggle to turn it on and unleash the power of biometric security.
How Stolen Device Protection works on iPhone
Stolen Device Protection on iPhone in iOS 17.3 might sound fancy, but it’s all about adding extra layers of security when your worst nightmare comes true: your phone gets yoinked. Here it works on your iOS device.
1. Biometric Lockdown: Imagine this: a thief gets your phone and the passcode (maybe you were forced to unlock it, ugh!). They think they’re golden, but nope! Actions like changing your Apple ID password, turning off Find My iPhone, or wiping the device require fingerprint or face scan – no passcode fallback in unfamiliar locations. So, even if they know your number lock, they’re stuck staring at a brick (phone), not your private pics.
2. iCloud Keychain Barricade: Forget “open sesame,” thieves now need “biometric sesame” to access those juicy passwords stored in iCloud Keychain. This protects your bank accounts, social media, and the secrets of your embarrassing search history from prying eyes.
3. Payment Blockade: Say goodbye to unauthorized pizza purchases by the thief! Apple Pay and contactless payments through your phone also require biometric authentication when away from familiar places. Your hard-earned cash stays safe even if your phone doesn’t.
4. Lost Mode Lockdown: Even if the thief tries to disable Lost Mode, which lets you track and lock your phone remotely, biometric authentication will stand guard. Your precious device remains trackable and useless to the bad guy.
5. Extra Layers of Security: While not everything requires biometrics, Stolen Device Protection adds other safety measures. For example, if the SIM card is removed, the phone automatically goes into Lost Mode and notifies you.
Conclusion:
You now have the knowledge and tools you need to turn your phone into a digital fortress, protecting it with Stolen Device Protection and your own security savvy. With your passcode as an encryption key and FaceID or TouchID as your best biometric security, they will be unable to steal your phone.
And remember, knowledge is power. Now, you’ve simply made your iPhone that ultimate guardian of the data. So there’s no need to worry anymore; go out and conquer the digital world, knowing your precious selfies, embarrassing memes, and top-secret pizza recipes are safe from harm. Let’s make sure that all the world is a thief-free zone.
In case you missed!