It is a best practice to update your devices because this will give you the latest security features, as well as bug fixes. However, the process, on some occasions, may go differently than planned. Some users may experience a stuck Windows Update Assistant.
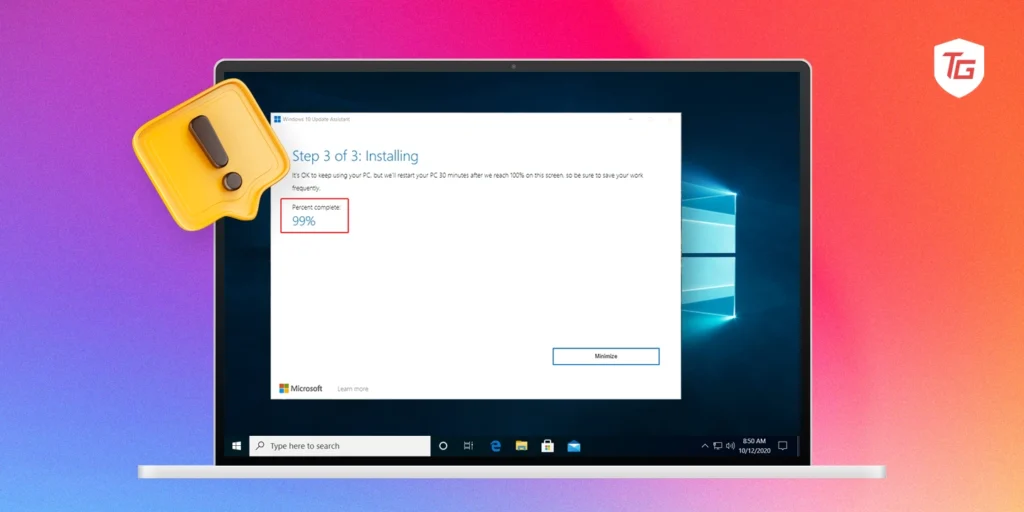
If this happens to you, it may result from a bad update cache, misconfigured network settings, or disabled services. The solutions are not so complicated, and in this guide, we walk you through every single one. Let us get to it.
👉 Pre-solutions
Before moving into any complicated fixes, consider the following checks or workarounds.
- Restart your computer: This process may be useful if some problematic process conflicts with the update process. A reset may force the problematic process to stop running, which will fix the error.
- Restart the router: You should restart your router or internet source as a workaround. There may be a slight connection glitch that a restart will fix.
- Remove peripheral devices: They start specific drivers when connected to your computer. In rare cases, these drivers may conflict with an update, which may be why the Windows Update Assistant is stuck. You should remove all peripherals.
If, after these checks, the problem persists, you should proceed to the solutions below.
1. Run the Windows Update Troubleshooter
The Windows Update troubleshooter is a tool that scans your computer for problems that may interfere with an update process. It may resolve these issues or suggest steps to resolve them. Use the steps below to run this troubleshooter.
1. Open the Windows Settings app by pressing Windows + I.
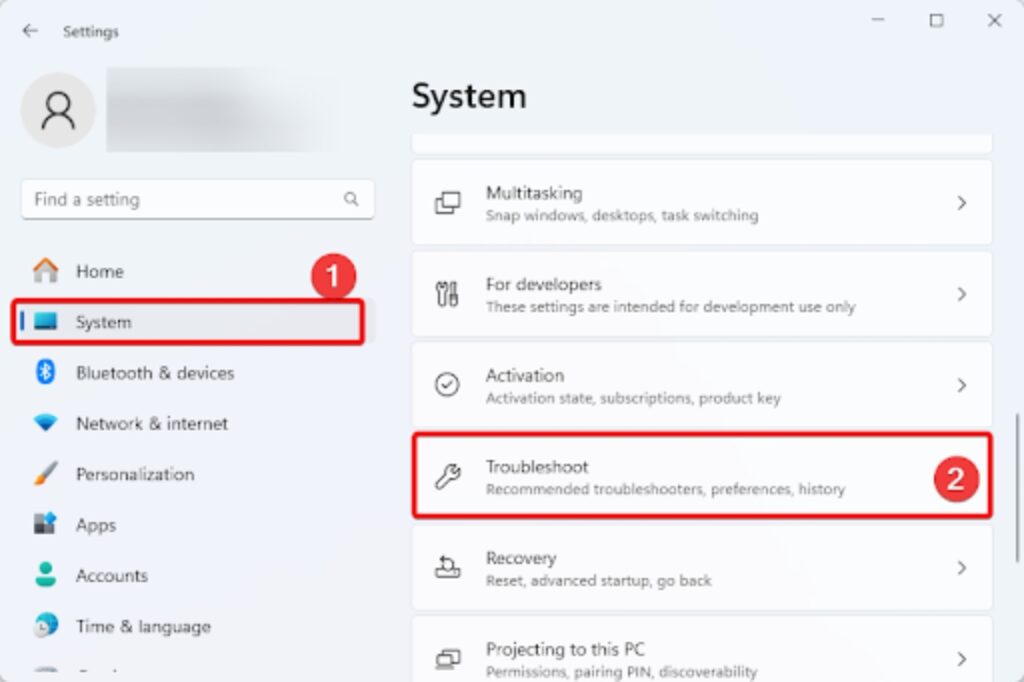
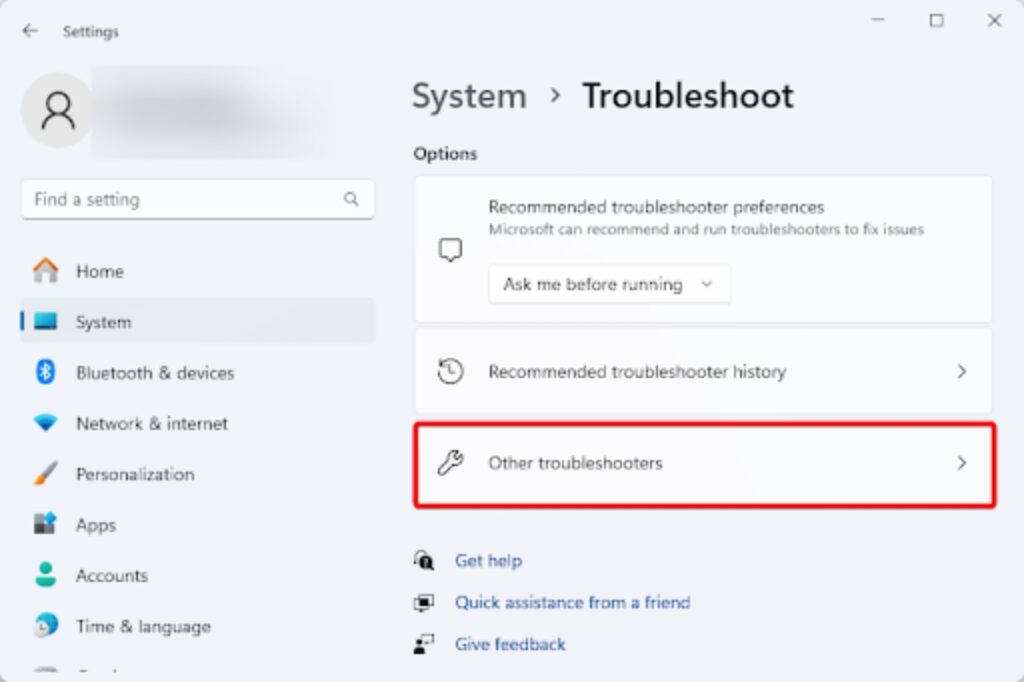
2. Click the System menu on the right pane, then on the left, select Troubleshoot.
3. Click Other troubleshooters on the right pane.
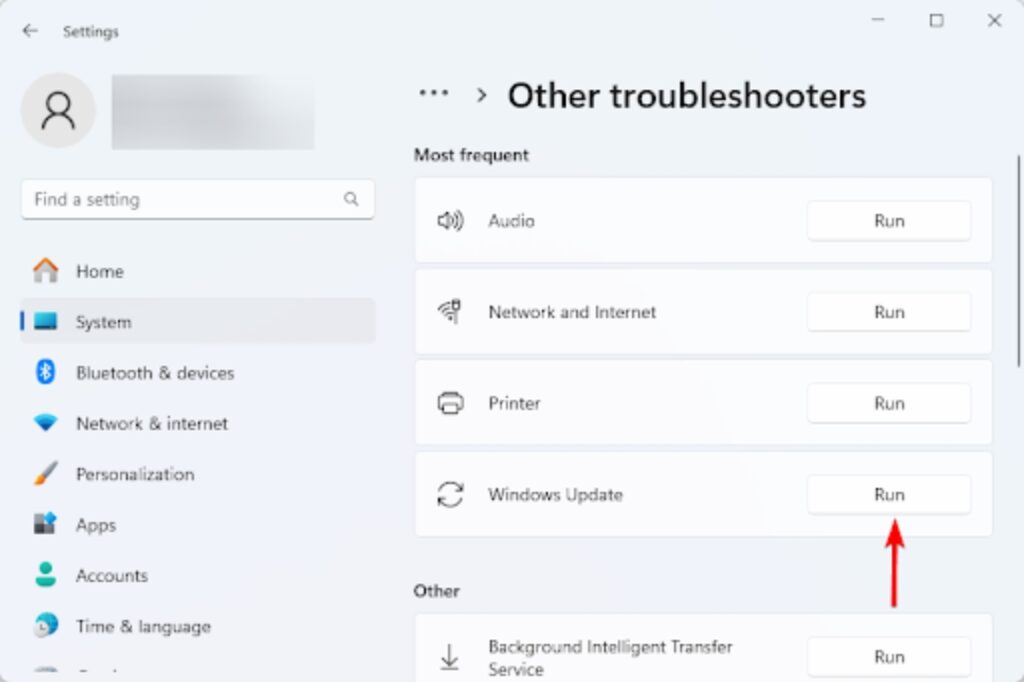
4. Click the Run button for the Windows Update troubleshooter.
5. Verify the problem is fixed, or go to the solutions below
2. Restart Essential Update Services
When some essential update services are restarted, you will clear temporal glitches that may be causing the Windows Update Assistant to be stuck. You may restart the services using the steps below.
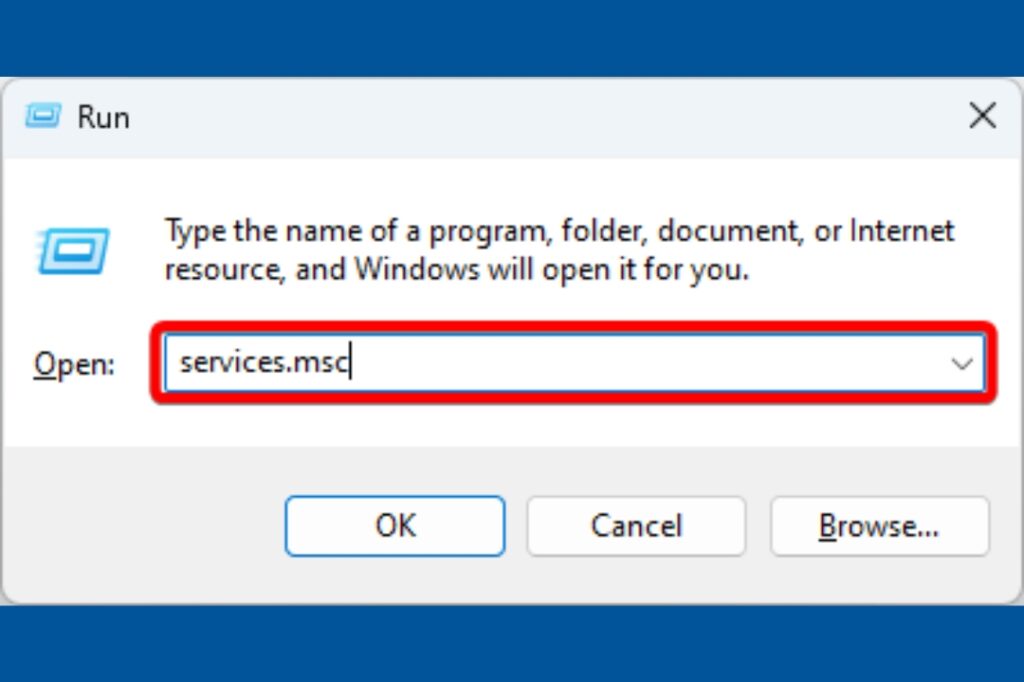
1. Open the Run dialog by pressing the Windows + R keys.
2. Type services.msc and hit Enter.
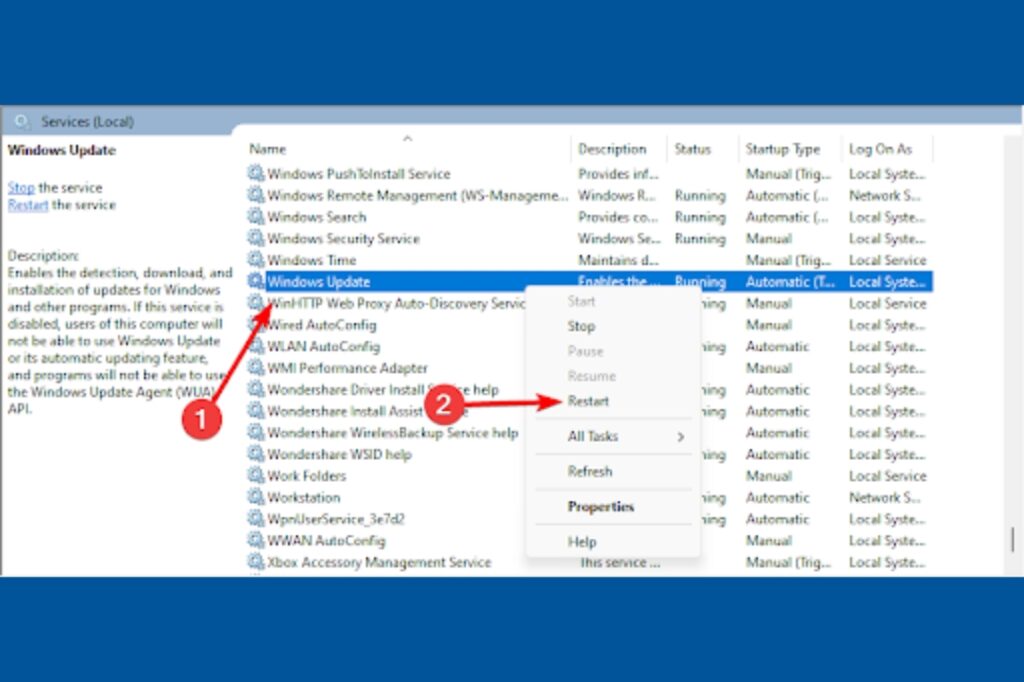
3. Scroll down, then right-click Windows Update and click the Restart button.
4. Now verify if the Windows Update Assistant is still stuck.
3. Clear Windows Update Cache
Windows stores temporary files needed for an update in the Windows Update cache. When they get corrupted, it becomes impossible to complete an update process, which may cause the Windows Update Assistant to be stuck. Here is how to clear the cache.
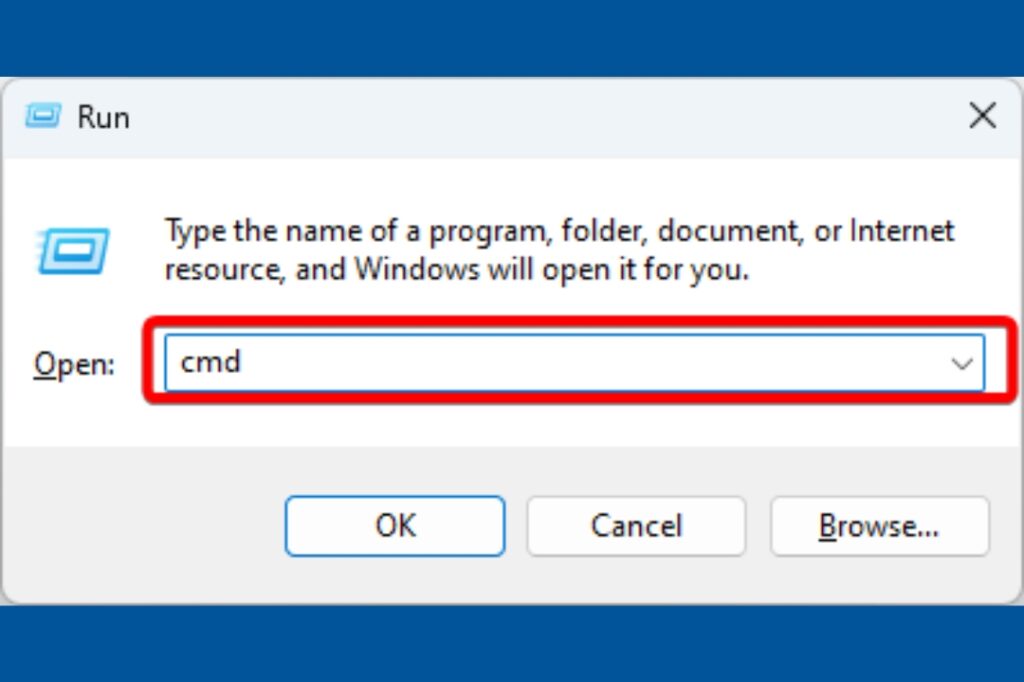
1. Press Windows + R, type cmd, and hit Ctrl + Shift + Enter to open an elevated command prompt.
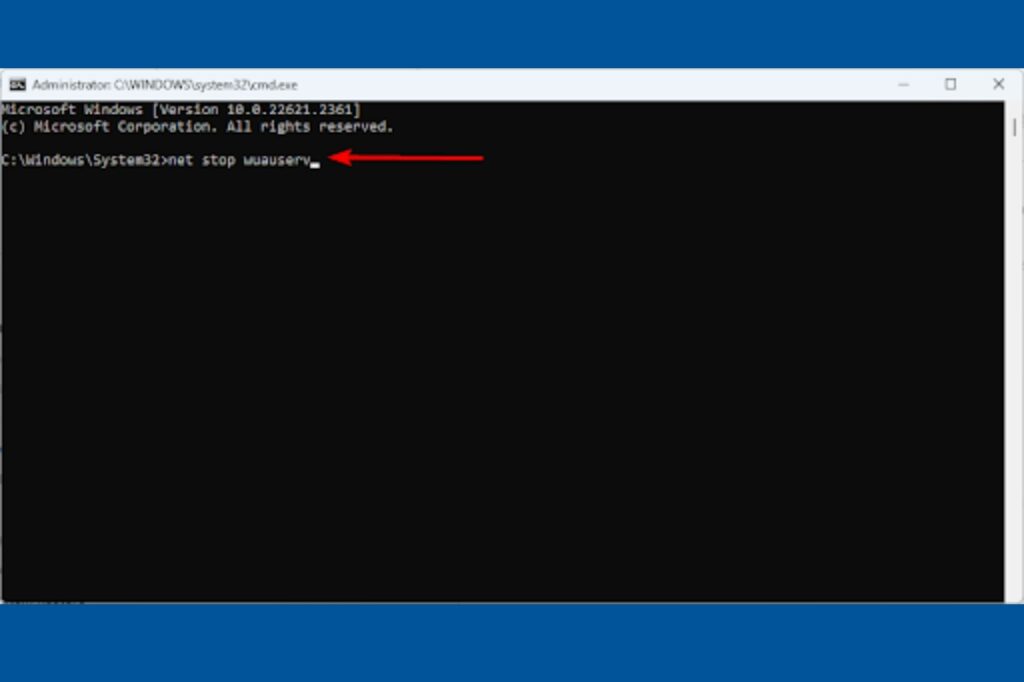
2. Input the script below and hit Enter to stop the Windows Update service.
net stop wuauserv
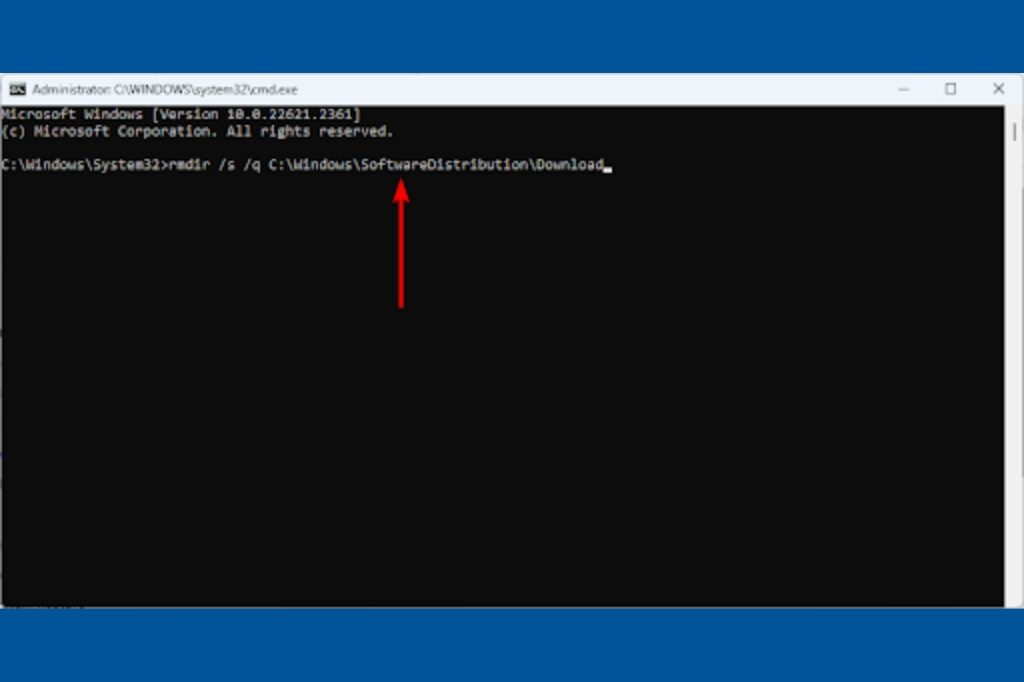
3. Delete the files in the Windows cache by running the command below.
rmdir /s /q C:\Windows\SoftwareDistribution\Download
4. Type the command below and hit Enter to restart the Update service.
net start wuauserv
5. Verify it fixes the stuck Windows Update Assistant.
4. Copy Media Folder From C:\$Getcurrent\
When your Windows Update Assistant gets stuck at 99%, copy your media folder from C:\$Getcurrent. This fix works because this folder contains the information and data needed for the update to run.
1. Press Windows + E to open File Explorer.
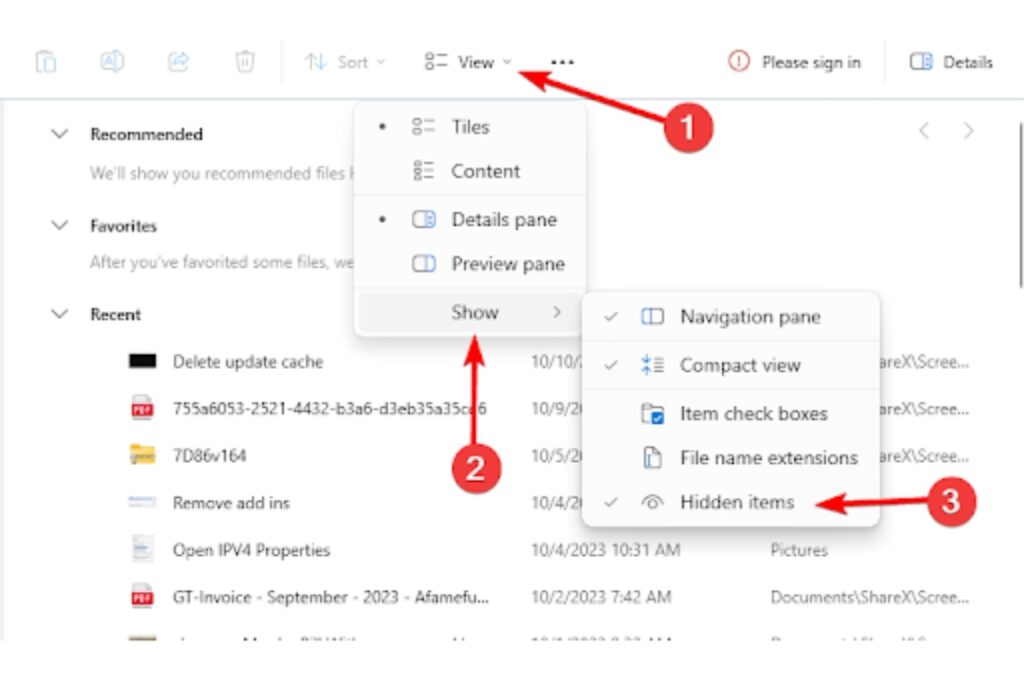
2. Click the View menu, click Show, then tick Hidden items.
3. Type $Getcurrent in the File Explorer search box, hit Enter, then copy its Media folder to the desktop.
4. Restart your computer, and Copy the Media folder you relocated back to the original location. Open it and run the setup file.
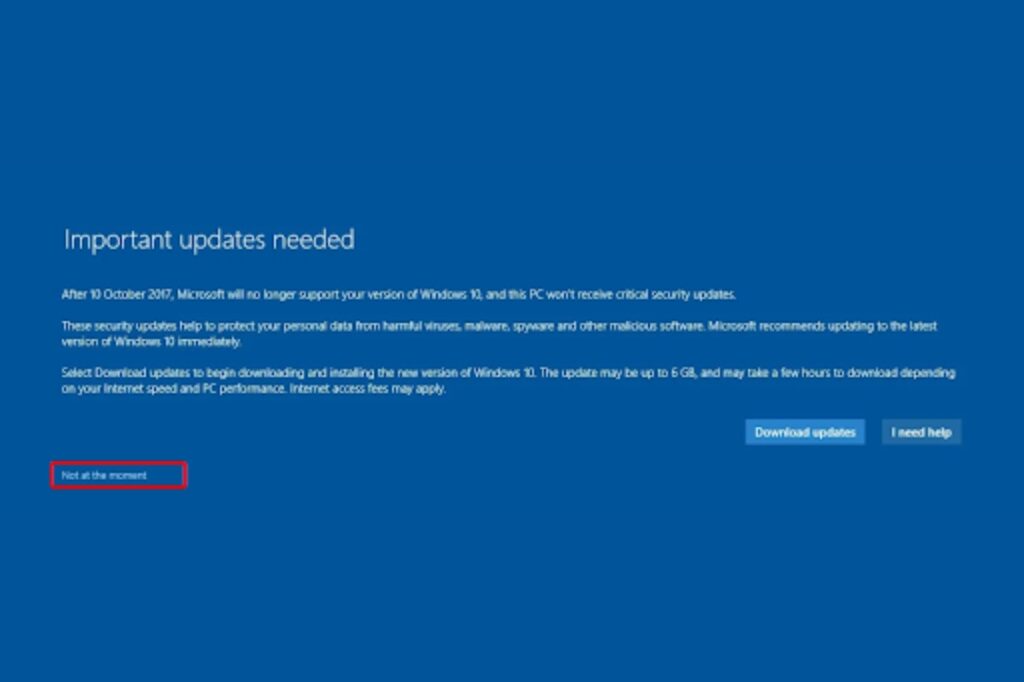
5. Follow the wizard, but ensure to select Not at the moment and Next to continue when you get to the Get Important Updates screen.
5. Temporarily Disable Antivirus and Firewall
We recommend always using a strong antivirus or firewall, but some antivirus programs may be incompatible with Windows or are too restrictive. In such a case, they may interfere with the update process, and you will have to uninstall it temporarily. The steps will depend on the antivirus you use, but typically, the disable option is found in the Taskbar’s system tray.
6. Perform a Network Reset
A network reset is an effective fix for a stuck Windows Update Assistant. This is because the process may be stuck. After all, certain elements can no longer be downloaded online. Resetting your network clears simple glitches and fixes other elements that may hinder a download.
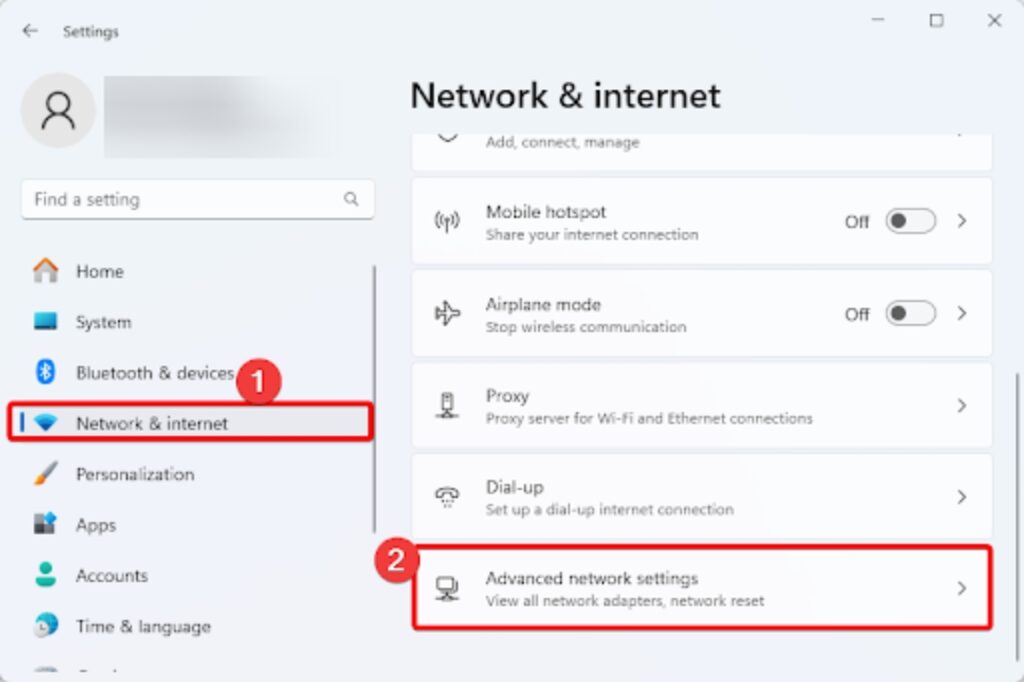
1. Press Windows + I to open your Settings application.
2. Click Network & Internet on the left pane and Advanced network settings on the left.
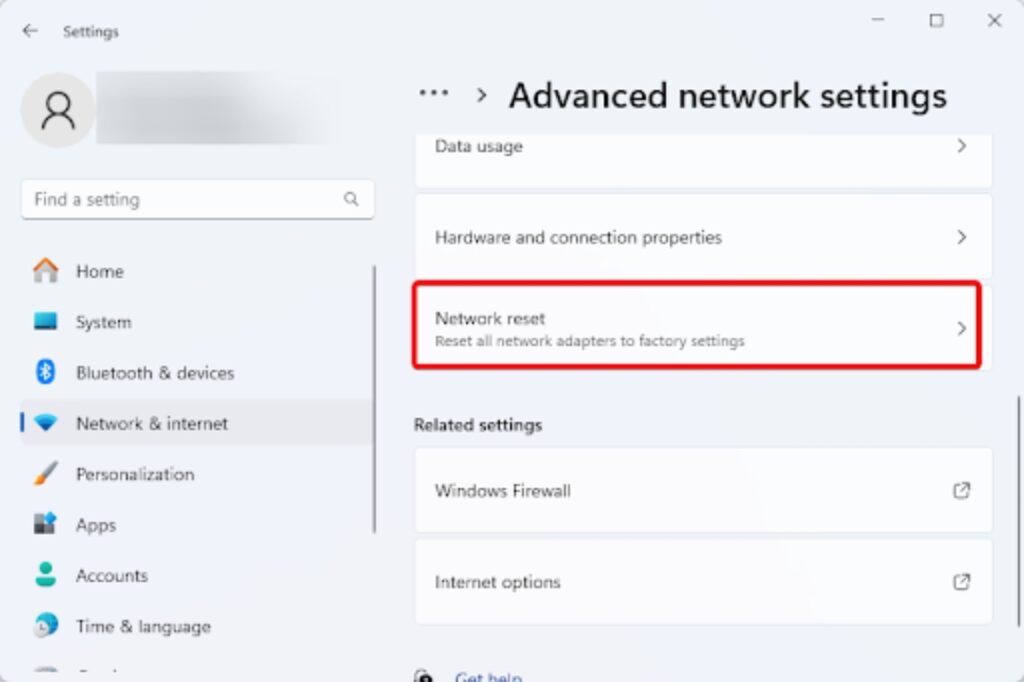
3. Scroll down on the right pane and click Network reset.
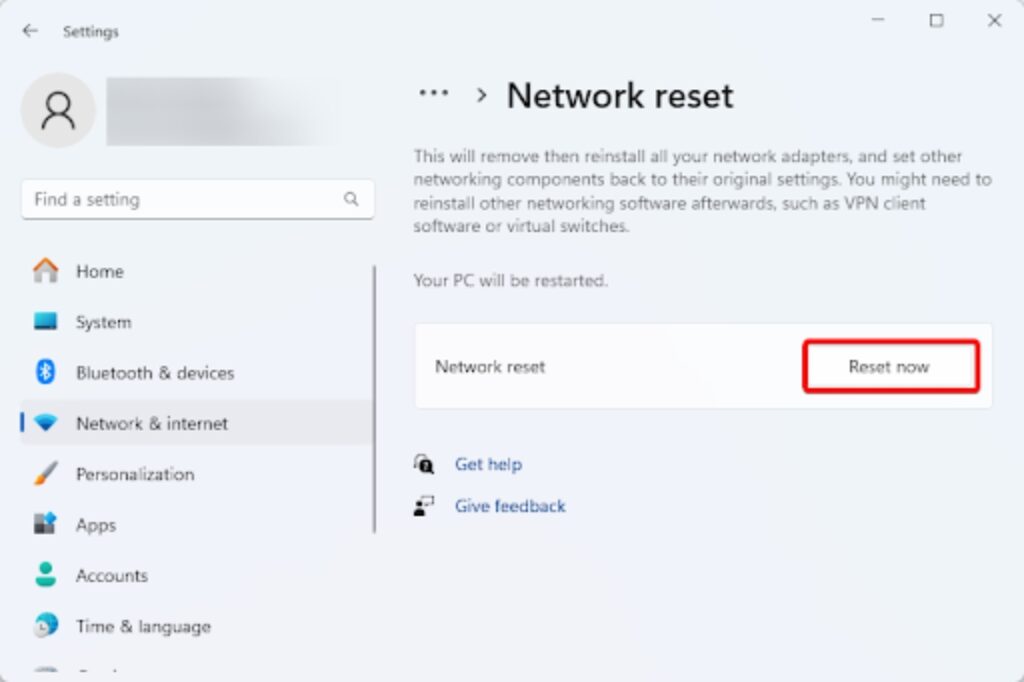
4. Lastly, click the Reset now button.
7. Try an Upgrade Using the Windows Media Creation Tool
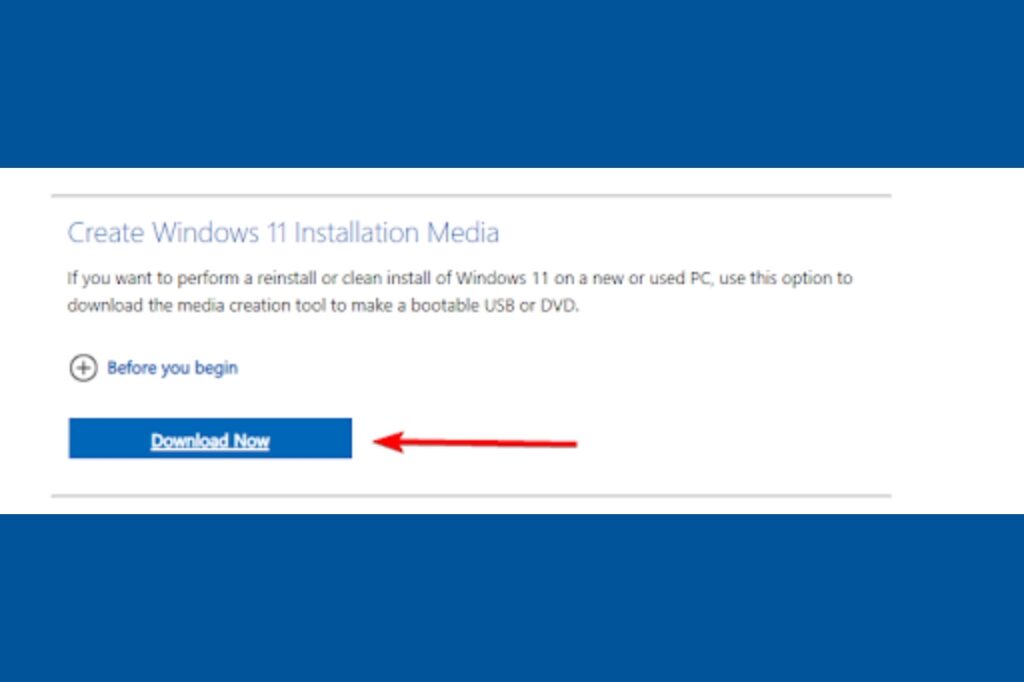
When you face a stuck Windows Update Assistant, you may be facing a file corruption problem. To go around this, we recommend downloading and using the Windows Media Creation tool for the upgrade. You may get this utility from the Microsoft website.
1. Visit the official download page and click the Download Now option for Create Windows 11 Installation Media.
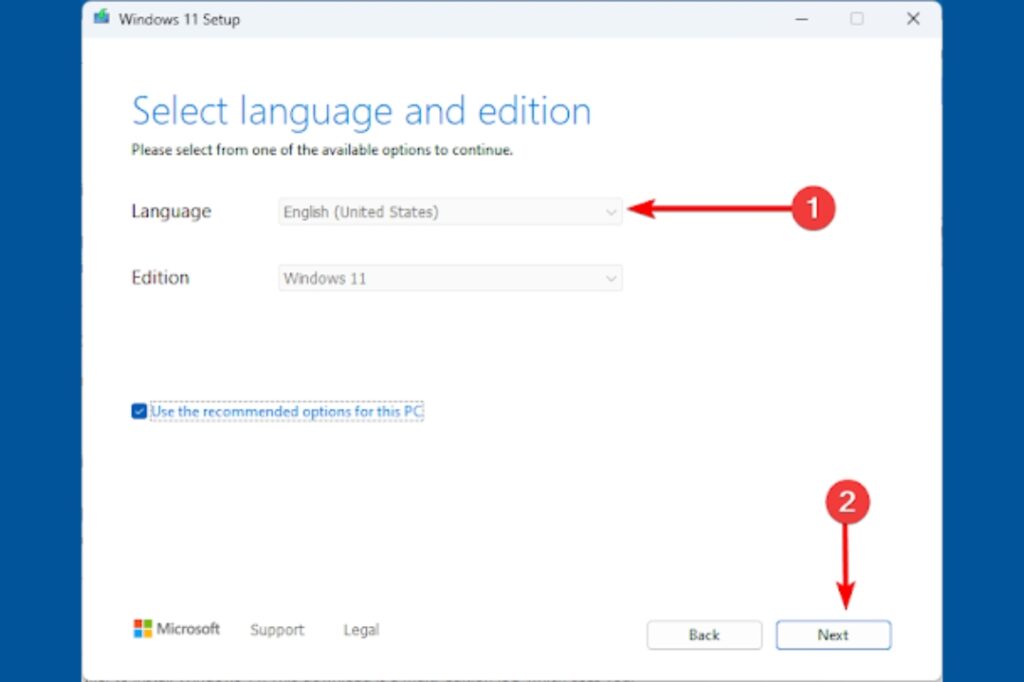
2. Double-click the file and select your preferred language.
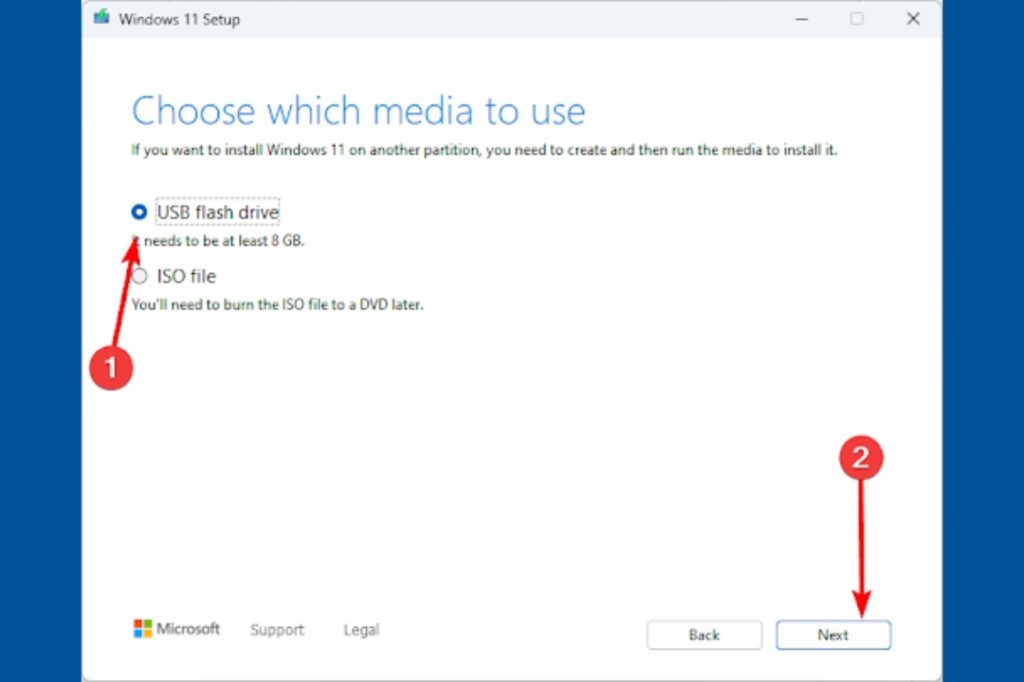
3. Plug in your flash drive, tick USB flash drive, and click Next.
4. Follow the wizard, and after the process, you may do the upgrade from the newly created installation tool.
8. Perform a System Restore
This may be a last resort, but it is often effective when you can not pinpoint the installation error’s exact cause. A system restore will take your computer back to a state where it worked without error. You should be careful about using this utility as you may lose some recently updated data on your computer.
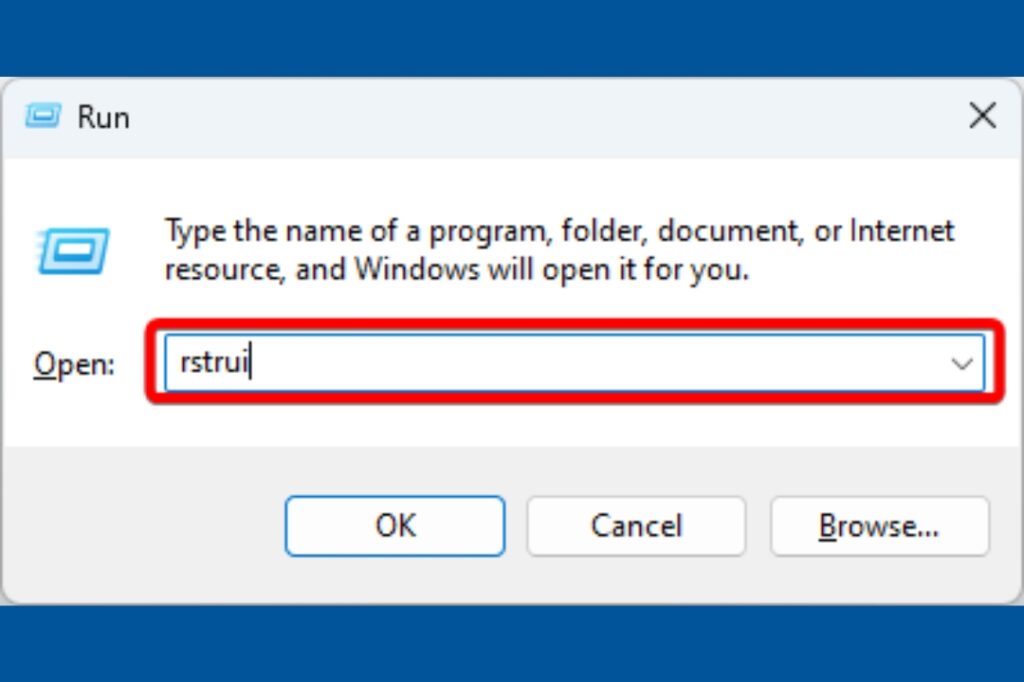
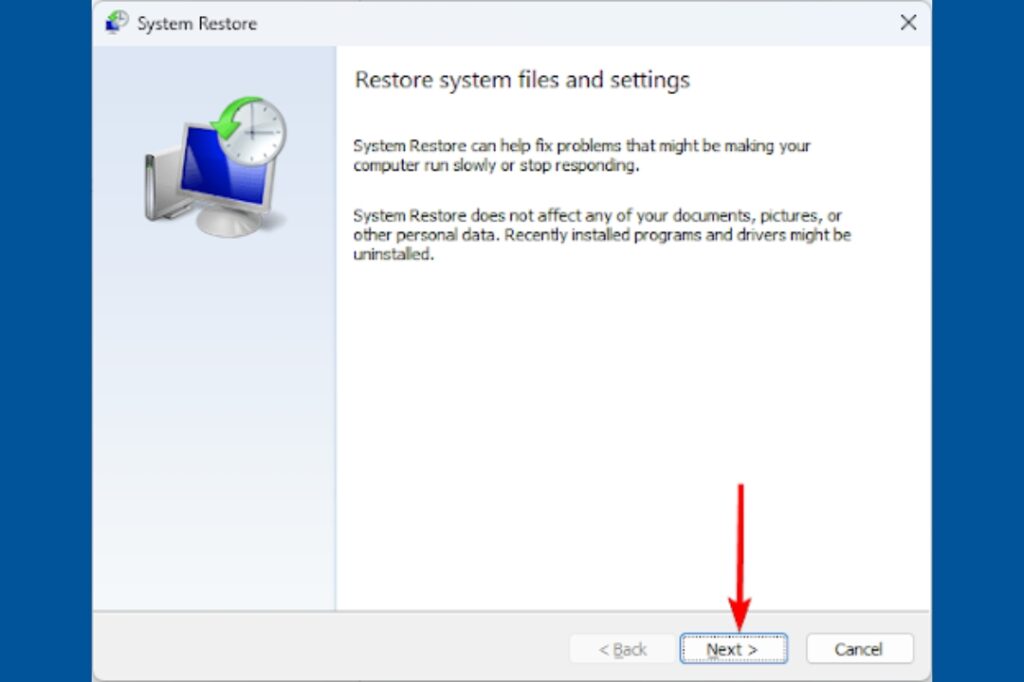
1. Press Windows + R, type rstrui, and hit OK.
2. Click Next.
3. Select a restore point and click Next.
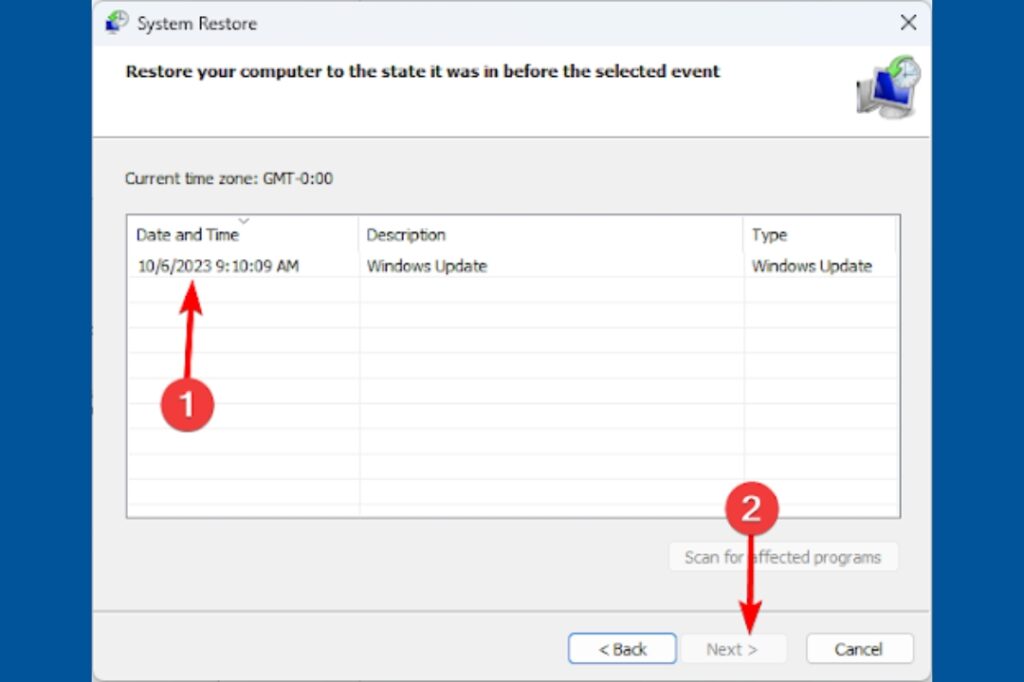
4. Lastly, click Finish, and the restore process should begin.
Completing a Successful System Upgrade or Update
The steps we have explored will help you complete your update or upgrade after experiencing a stuck Windows Update Assistant. We have not written these fixes in any particular order, so you should start with what seems the most applicable.
Lastly, we love to hear from you as always, so let us know in the comment section below which of the fixes worked.
In case you missed it!