While Windows is reputed as a reliable and stable operating system, it is only normal for tech consumers to run into the occasional error, bug, or a problem. Windows Windows 10 and 11, some of these problems may require you to repair your computer. There are built-in repair functions on the operating system and other troubleshooting solutions that repair your computer in some form. This guide will take you through the best and most practical ways to repair your Windows 10 and 11 computers.
6 Signs It May Be Time to Repair Your Windows
There are many instances when a repair would be necessary on your computer. The most common situations are related to:
1. Slow performance
2. Blue screens of death
3. Internet or network connection problems
4. Frequent crashes
5. Difficulty launching or running programs
6. Problems with devices, such as printers or scanners
Below are the best ways to repair Windows 10 and 11. Note that in both operating systems, the steps are often similar with little UI differences.
1. Repair Windows by Performing an OS Update
An OS update in Windows 10 and 11 often includes security patches, bug fixes, and driver updates. This is a good repair strategy in case certain drivers trigger some errors or if you are having problems running specific programs.
1. Launch your Settings app by pressing Windows + I.
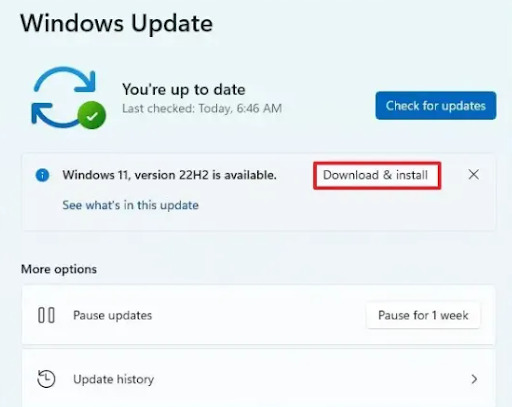
2. Click Windows Update on the left pane, then on the right, click Check for updates.
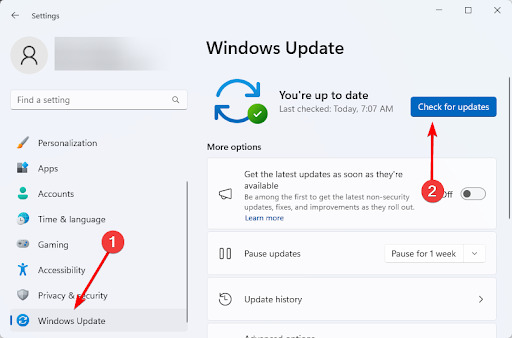
3. If updates are available, click Download & Install.
4. Sometimes, you may need to restart the computer after the updates are installed.
2. Repair Windows 10 and 11 Using Automatic Repair
The Automatic Repair functionality is built into Windows 10 and 11 and is triggered if Windows is having trouble starting properly. It effectively fixes corrupted system files, missing or damaged boot files, registry errors, and hardware problems. Here is how to initiate it.
1. Turn off your device, then press the power button. When the Window logo appears, press and hold the power button till the computer shuts down. Repeat it 4 or 5 times, then allow the computer to boot into Recovery Mode.
2. Now it should start automatic repair. So, wait till the process is completed.
3. Running Windows Troubleshooters to Repair OS Issues
Windows 10 and 11 come with a host of troubleshooters. In most cases, you should be able to access them from the Settings application.
👉 Running Troubleshooters in Windows 10
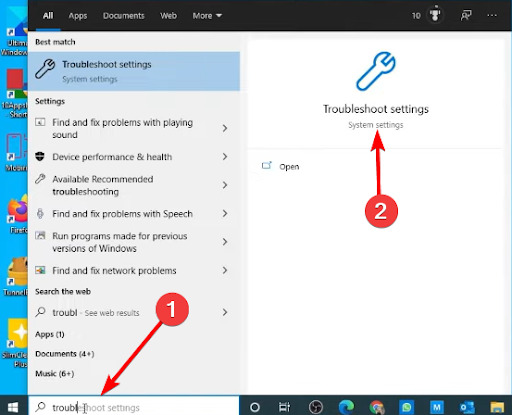
1. Click the Start menu, type troubleshoot, and select Troubleshoot Settings.
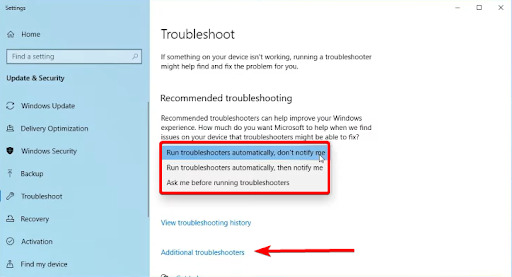
2. You may choose any of the troubleshooting options: Run troubleshooters automatically, don’t notify me, Run troubleshooters automatically, then notify me, or Ask me before running troubleshooters. Alternatively, to run a specific troubleshooter, click Additional troubleshooters.
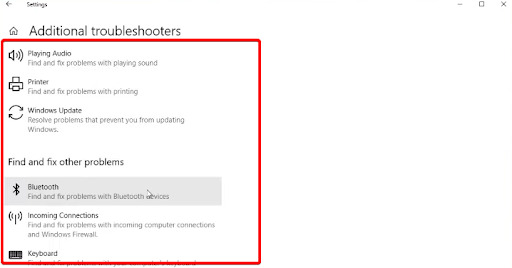
3. Click your desired troubleshooter and select Run.
👉 Running Troubleshooters in Windows 11
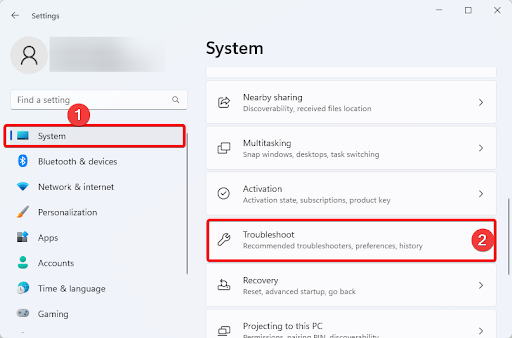
1. Open the Settings application by pressing Windows + I.
2. Click on Troubleshoot on the left pane.
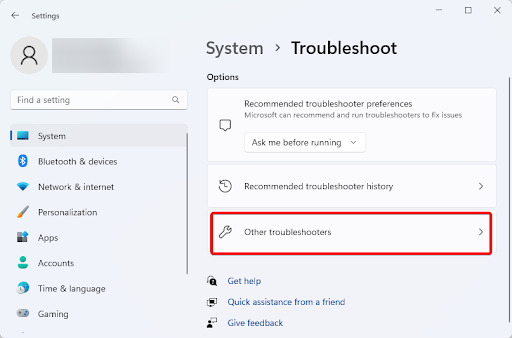
3. Click Other troubleshooters.
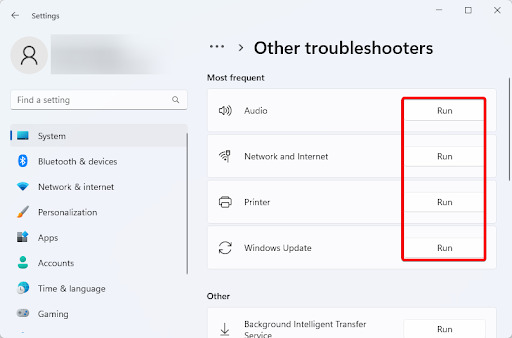
4. Click the Run button for any of the troubleshooters you want.
4. Repairing the Operating System Image Using the DISM Scan
A Deployment Image Servicing and Management or DISM scan is a Windows 10 and 11 tool for scanning and repairing Windows system files. It is used to fix corrupted system files, damaged or missing system files, registry errors, and problems with Windows updates. Follow the steps below to run the scan.
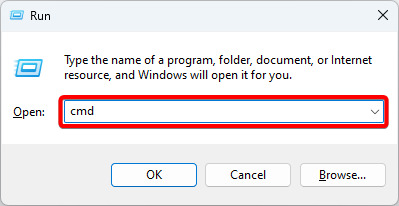
1. Launch your Run dialog by pressing Windows + R.
2. Type cmd, then simultaneously hit Ctrl + Shift + Enter to launch an elevated Command Prompt.
3. Type the script below to verify the health of your OS:
DISM /Online /Cleanup-Image /CheckHealth

4. Type the script below to perform an OS image scan:
DISM /Online /Cleanup-Image /ScanHealth

5. Type the script below to fix any OS image issues:
DISM /Online /Cleanup-Image /RestoreHealth

5. Running a System Restore
A System Restore is a vital repair utility on Windows 10 and 11. Just like the name implies, it restores the computer to a state before a specific problem initiated. After using this tool, you may lose files and programs installed after the restore date. The tool is vital for fixing errors or problems like blue screens of death, frequent crashes, slow performance, and more.
1. Click the magnifying lens of your Taskbar, type recovery, and click the Recovery app.
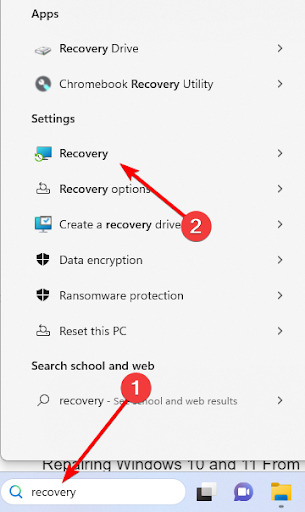
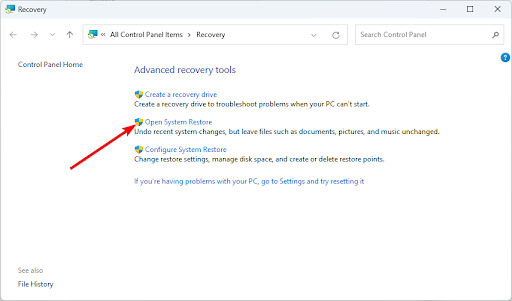
2. Select Open system recovery.
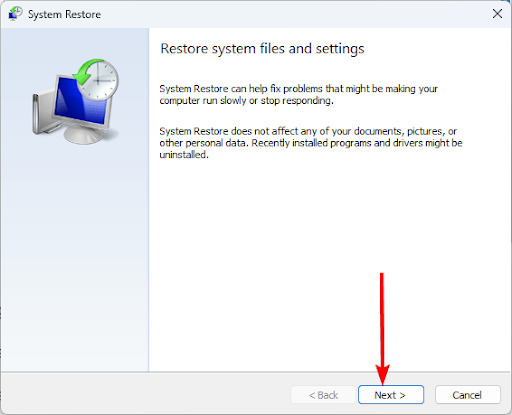
3. Click Next.
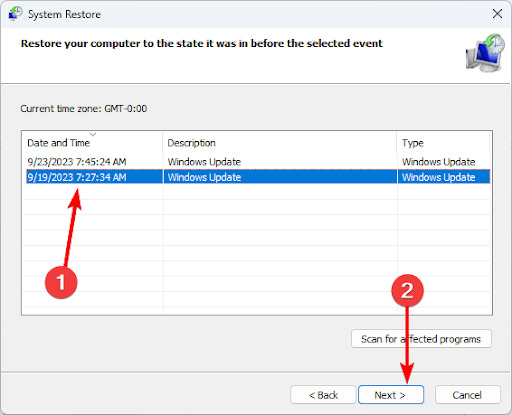
4.Select a restore point and click Next.
5. Click Finish, then wait for the process to complete.
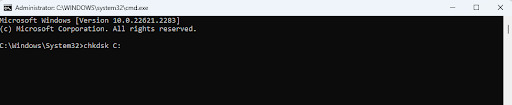
6. Using the Chkdsk Scan to Fix Windows 10 and 11 Drive Errors
The Check Disk scan is a built-in Windows 10 and 11 utility used for scanning and repairing drive errors on the OS. It is effective in correcting bad sectors in drives.
1. Launch your Run dialog by pressing Windows + R.
2. Type cmd, then simultaneously hit Ctrl + Shift + Enter to launch an elevated Command Prompt.

3. Type the script below and hit Enter to run the scan.
chkdsk C:
4. Restart your computer, and the repair should be complete.
7. Repairing Windows 10 and 11 From Safe Mode
The Safe Mode is a troubleshooting mechanism that starts your computer with only the essential drivers, processes, and services. It is essential in troubleshooting when you may not be sure about the component causing the error. To boot into safe mode, follow the steps below.
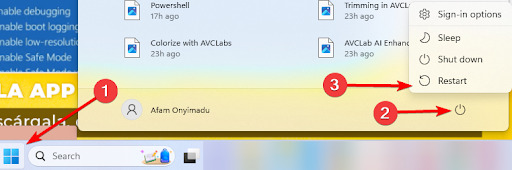
1. Click the Start button on the Taskbar, click the Power button, and press Shift while clicking Restart.
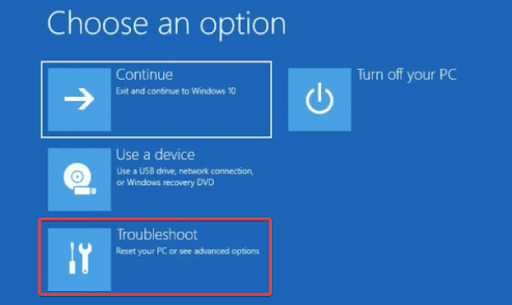
2. Choose the Troubleshoot option.
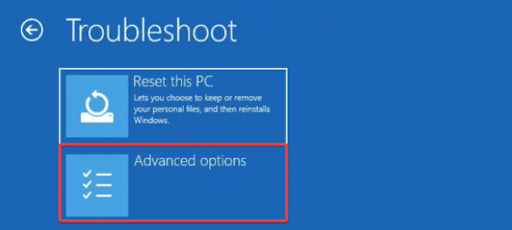
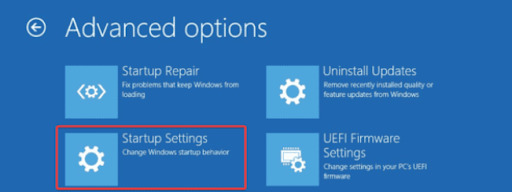
3. Click Advanced options.
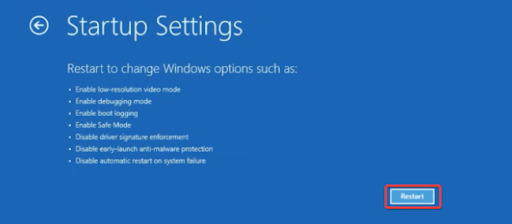
4. Click Startup Settings.
5. Click Restart.
6. Finally, press F4 to boot into Safe Mode.
8. Resetting the Computer to Fix OS Problems
In most cases, this is the ultimate Windows 10 or 11 repair. Resetting the computer will reconfigure your system and change everything to their defaults. To reset your computer, follow the steps below.
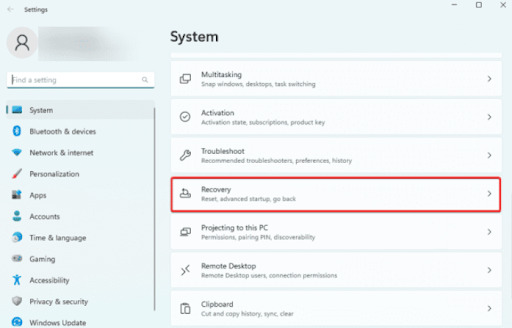
1. Open the Settings app by pressing Windows + I.
2. Click Recovery on the right pane.
3. Click Reset PC.
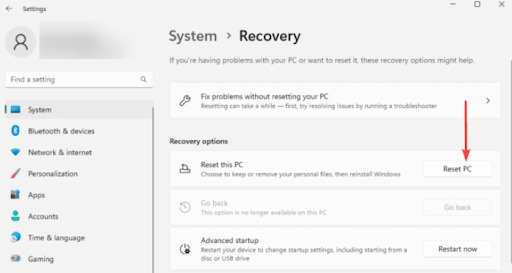
4. Select Remove everything and wait for the process to complete.

Final Thought: Getting the Best Out of Your Computer
Repairing your computer is vital when encountering certain errors or bugs. While some repair options may be time-consuming, like a reset, for example, most of the time, you should be done in a couple of minutes.
If the problem persists even after repairing your PC, you may need to see a qualified technician. There are chances that a faulty hardware component needs to be replaced.
Other Windows Fixes: