Minecraft is an amazing game that is loved by everyone. You can build stuff over the places as per your thinking. Moreover, it also has a wide range of materials that you can use to play the game. We can also select the server hosting through which we can have full control over the version of the server which we want to establish. Today, in this article, we are going to discuss how to update Minecraft server. The technique is simple and we are going to cover all aspects regarding this update of Minecraft Server. Let’s see How to update a minecraft server?
Anyone can encounter the task of update activity anytime. This is because the Minecraft error servers are extremely unpredictable and hence, you will be asked for the change of update at any phase. Changing the server version will not only be limited to upgradation, but will also ask you to downgrade the server version as well! This can be any server, it does not matter whether the server is modded or not.
Before changing the version, you need to think about the version that you are going to decide on. Sometimes it works wonders, sometimes it causes much trouble. You can do the following set of activities to change the Minecraft version.
Method 1: Using JAR Dropdown
Jar Dropdown will help you to change the Minecraft version at utmost ease. Perform the following sequence of activities to change the server.
- First of all, you need to select the server that you wish to change and go to the details section of that page.
- On that page, there will be written “JAR” on file. There will be a dropdown menu as well besides it.
- Click on that dropdown menu and there will be different jar files that will help you in installation as well as the update process
- Select the version that you want to select and update and finally click the Save button that will appear on the screen.
- If there exists a mod package already on the computer, then you need to remove the jar files from the computer so that the system acknowledges the fact that regeneration of files is needed.
- After completion of the above processes, restart the server, and boom! A new version of the server will be loaded in front of you!
Method 2: Usage of FTP
- You need to connect to the File Transfer Protocol Servers. If you think what will be the password there, then do not worry, as the password is the same password that you type while accessing the server control panel.
- There are third-party applications that help you establish the connection as a FTP Client.
- Once you are in the FTP server hosted by Minecraft, you can download the .jar file that you wish to select.
- In the FTP Browser, there will be a list of files and folders. Here, there will be JAR folder too.
- If the folder of JAR is not there, then simply create the folder.
Method 3:
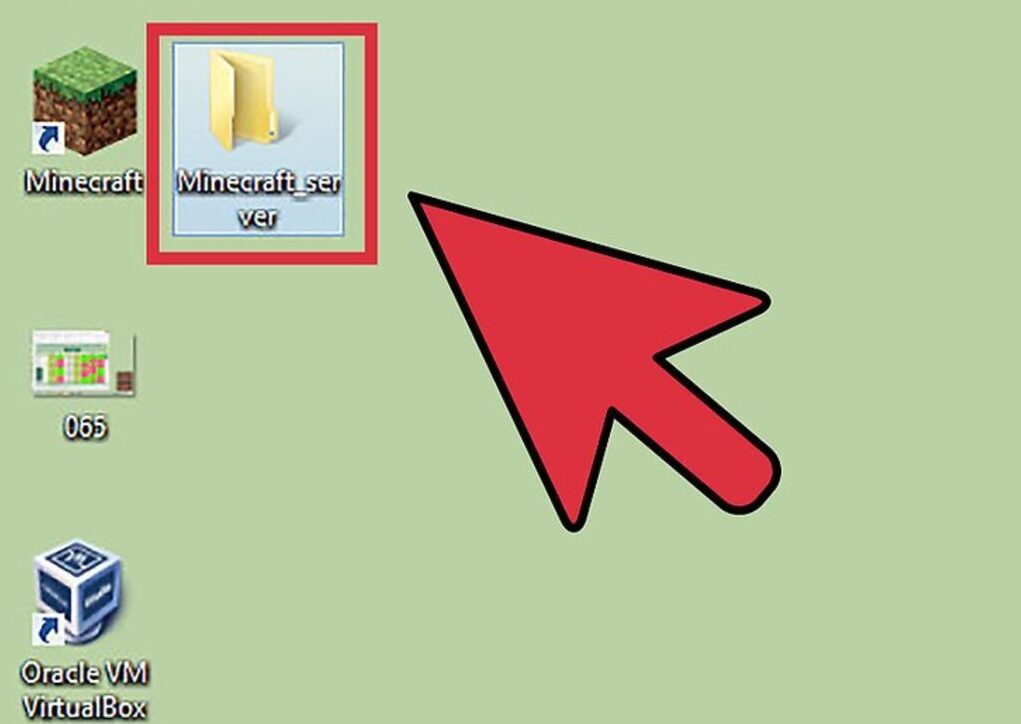
Step 1: First of all, open the Minecraft server folder which contains all the files of your server.
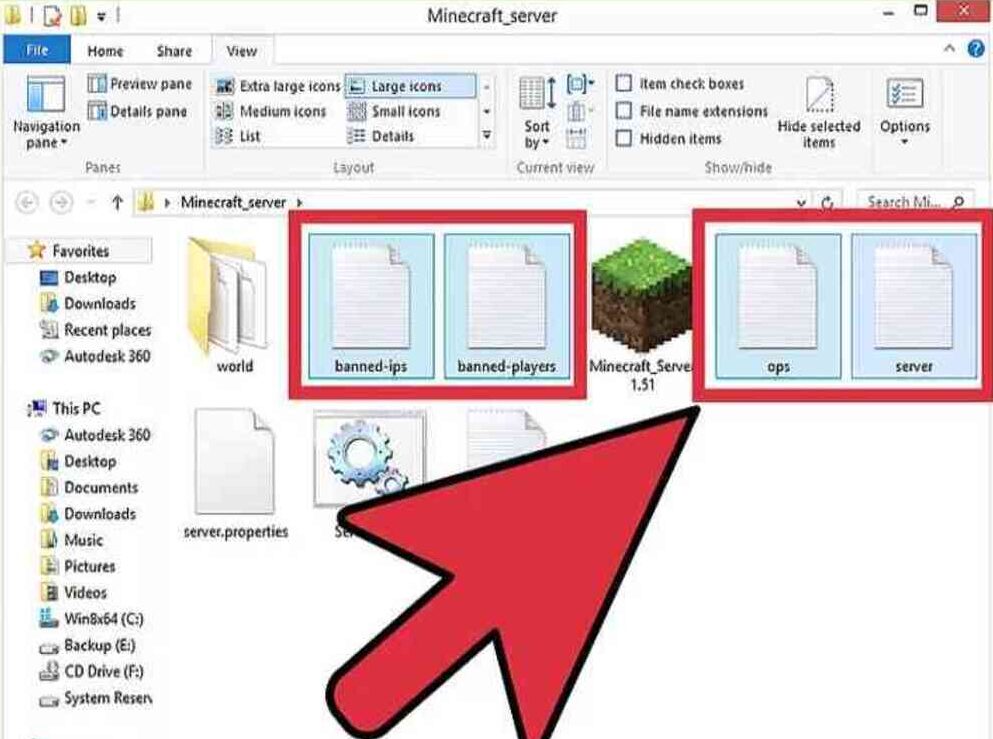
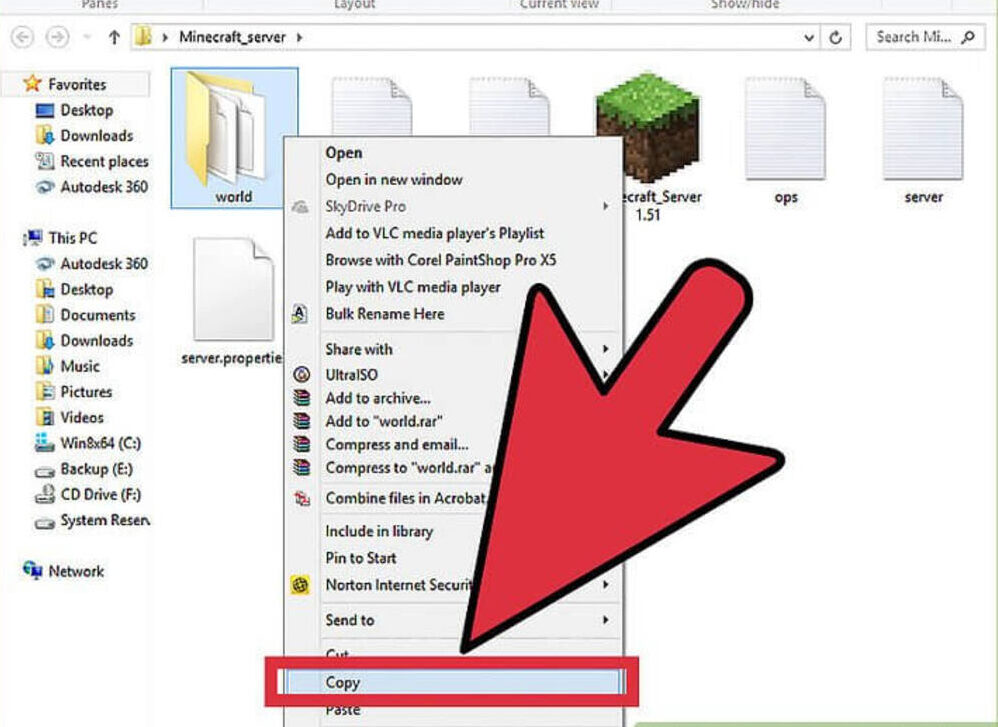
Step 2: Take a backup of the important files:banned-ips.txt, banned-players.txt, ops.txt, server. properties. There will be a folder named “world”; take a backup of that as well. You can take the backup of every file, rather than the complete folder as well.
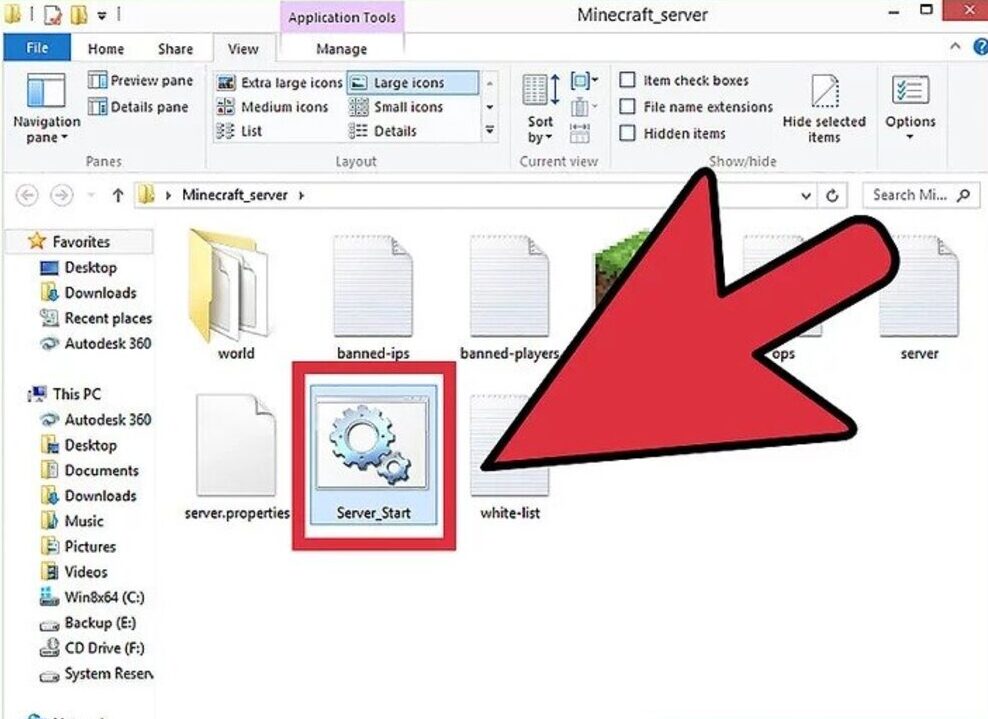
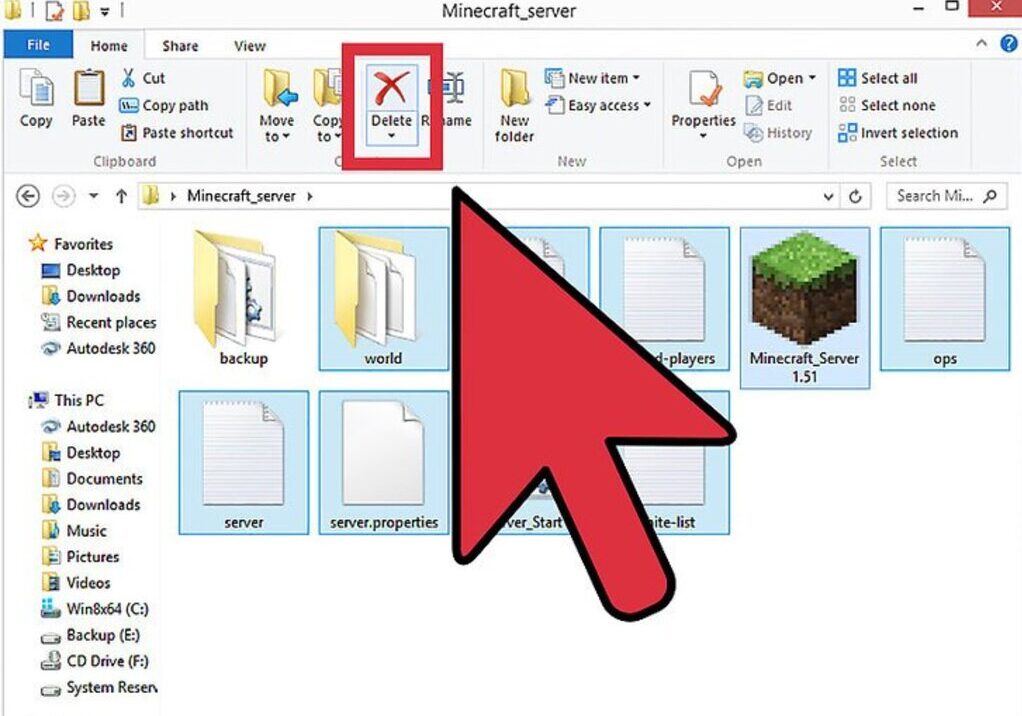
Step 3: Now, delete everything in the folder.
Step 4: Now, head to minecraft.net/download and download the new server file. There will be different files for different operating systems so download the required file.
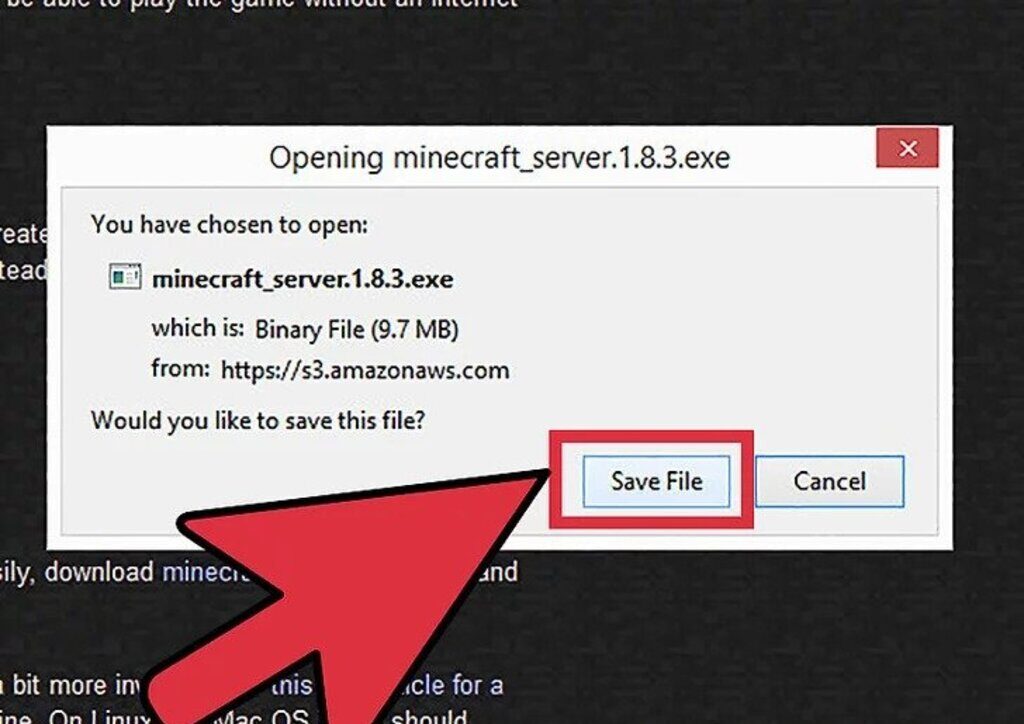
Step 5: Copy and paste the downloaded file in the Minecraft server folder.
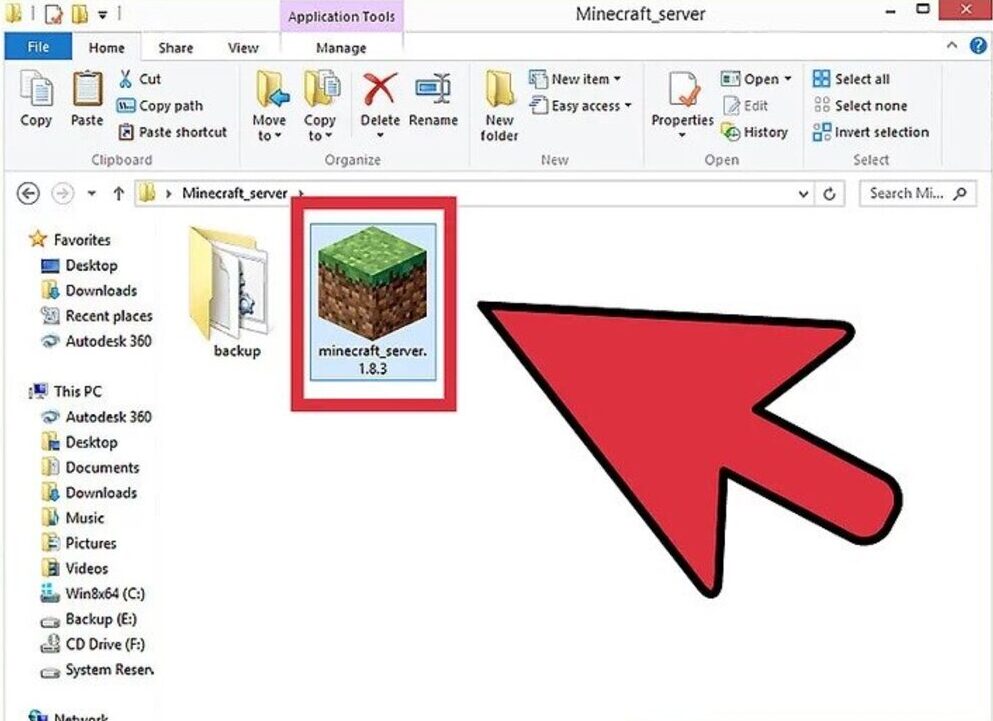
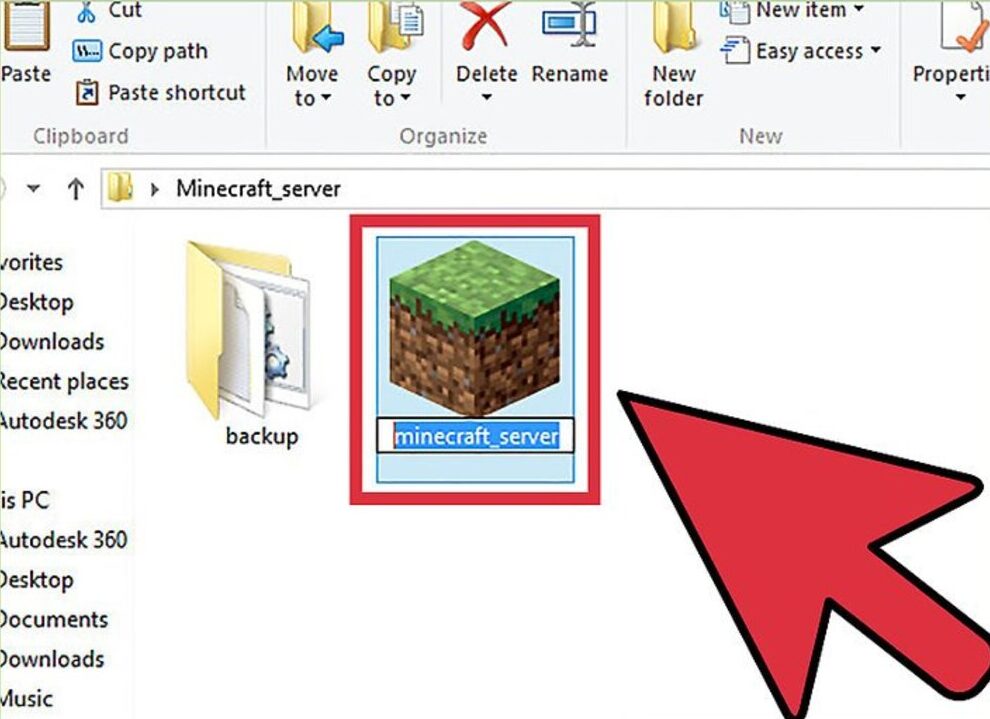
Step 6: Find the exe file and rename it. You need to remove the version number from the file name. For example, if the file name is minecraft_server.1.7.exe then remove the number 1.7 from the name.
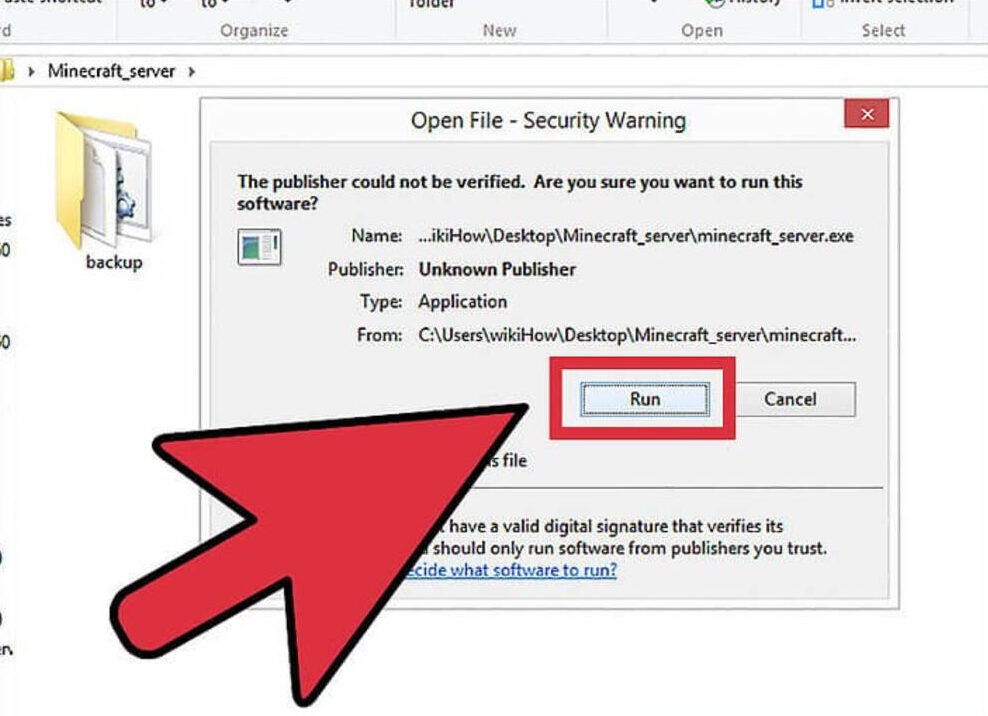
Step 7: Run the exe file. If you are running on Linux then there will be a JAR file, run that.
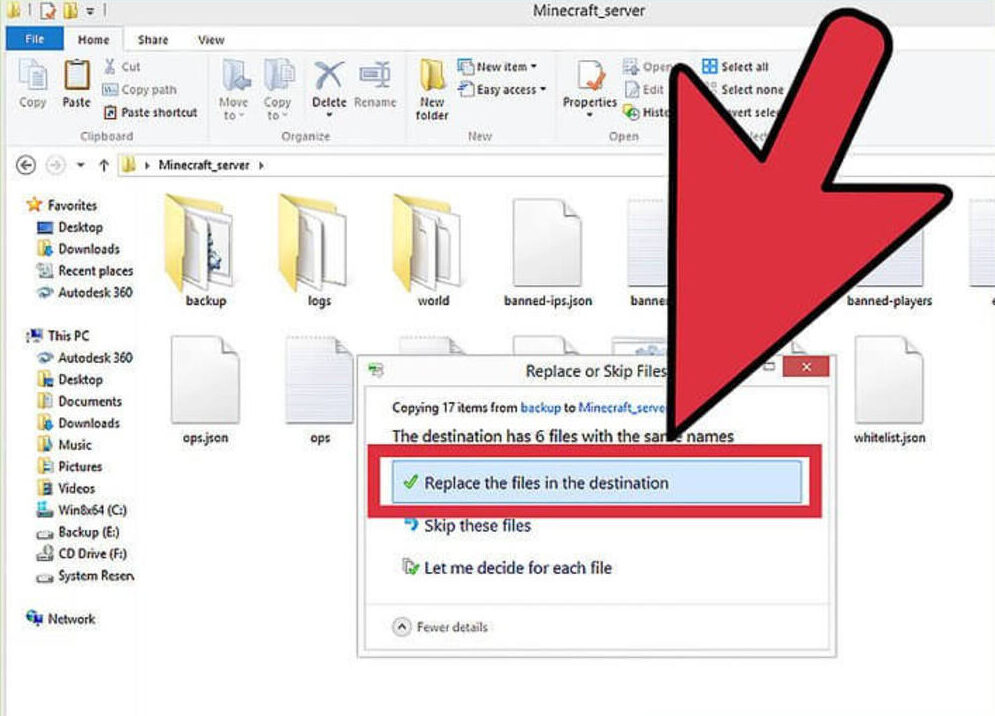
Step 8: Now, restore all the backed up files to the folder.
Step 9: Look for the eula.txt file. There will be a eula=false line, change the value to true. Save it and close it.
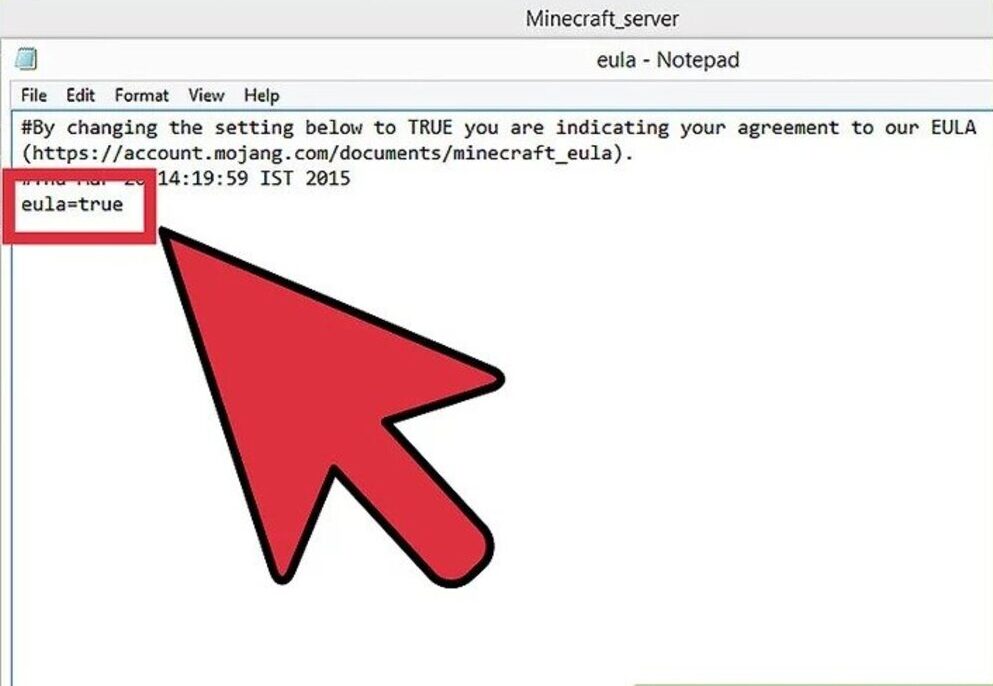
Step 10: Restart your server.
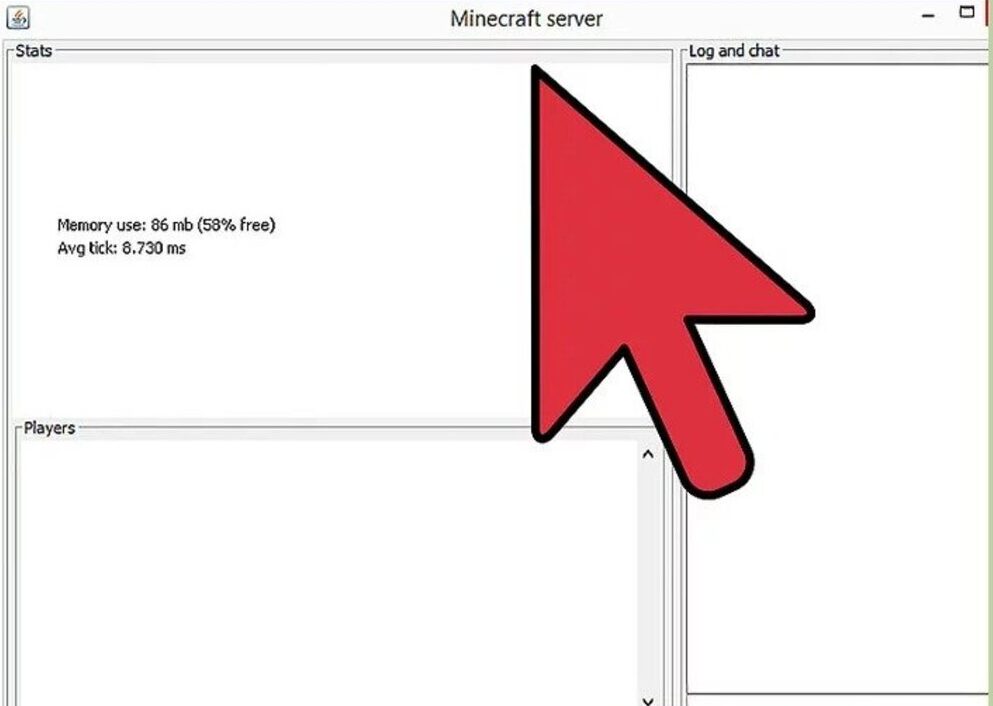
These were the different methods on how to update Minecraft server. Follow the steps properly and complete the process easily without any hassle.
Continue reading:


