If you have made your mind to be a streamer and go into that professional zone, this article is for you. After playing your favorite game for an ample amount of time on Nintendo Switch, if you have decided to stream it on various platforms such as Twitch, Facebook, YouTube but you do not know the procedure, then sit back and relax, as we are going to discuss regarding How to Stream Nintendo Switch. The process varies for different platforms and hence, make sure you apply the correct procedure before proceeding.
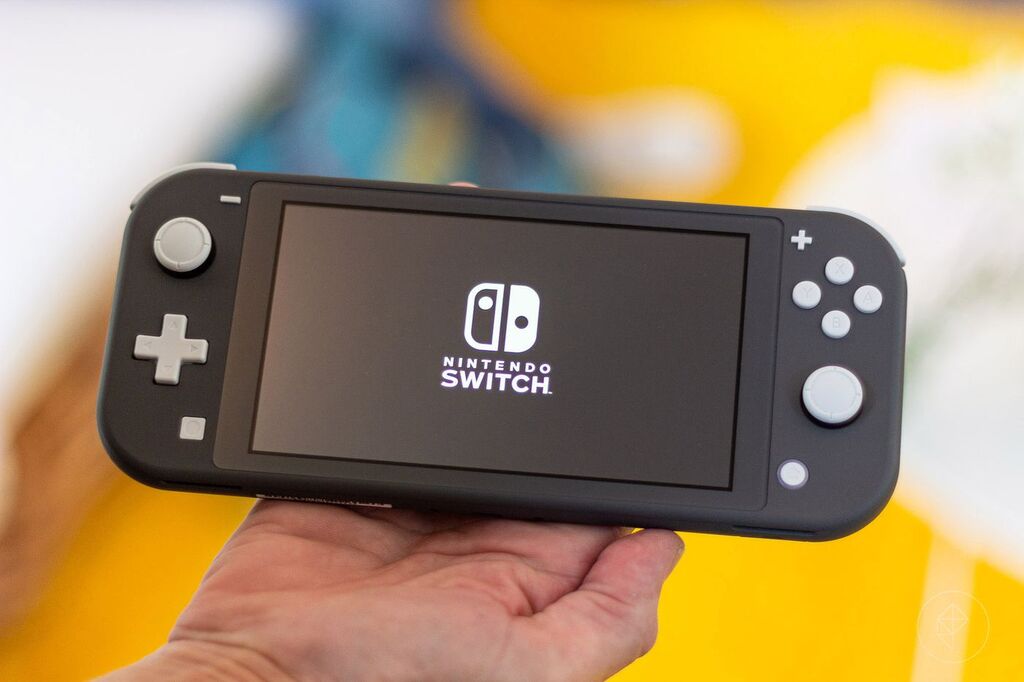
It is vital to note that you cannot stream with Switch lite as it cannot produce the output to a display. You can only stream with a regular Nintendo Switch.
What Things Will You Require to Stream?
- Switch
- Switch dock
- TV/Monitor
- Capture Card
OBS installed on your device. OBS is an Open Broadcaster Studio which is an open-source platform for streaming. You can download it from the official website of the developers.
After installation, open the software and click on sources. There, click on Add Video Capture Device. Create a new and name it as per your choice. Click the device and then select the capture card that you are using.
Razer Synapse is required if you are using Ripsaw. After the installation procedure, you need to ensure that while the setup is done, the light is turned green.
How to Stream on Nintendo Switch?
Well, before proceeding for different platforms, you need to know the process for Nintendo Switch. Following is the way for the same:
You need to dock the Nintendo Switch and then connect the HDMI cable between that and the capture card.
Now, you need to connect the capture card and TV/Computer with the HDMI cable.
Now, just connect the capture card to your computer. You can use a USB cable for the same.
You need to have OBS Now. Open OBS on your system and choose your preferred Streaming Platform
You can choose it through the Settings.
Configure the display screen at your convenience and click on Start Streaming.
After you click “Start Streaming”, you will be live. If the image does not appear at times, then you need to set the resolution to 1080p and at 60 fps.
Following are a few of the platforms which are used by most people for streaming.
Twitch
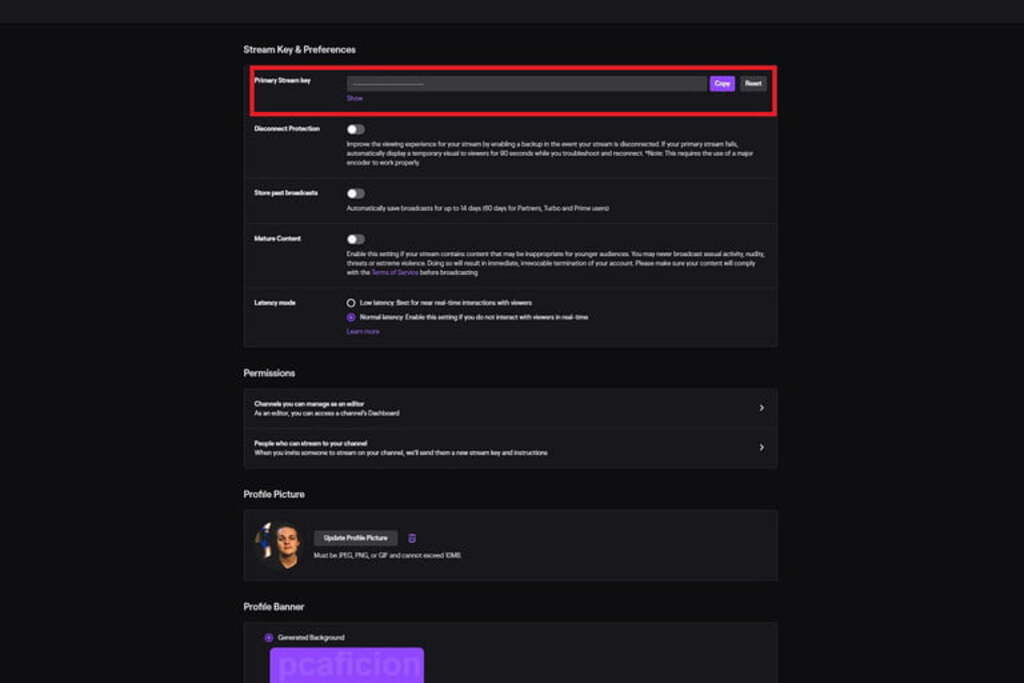
- Open the twitch application or you can even run it on your browser. Log in or create a new account by signing up. After logging in, you need to click on your name. It will be seen on the top-right.
- Click on settings and copy the “Show Stream Key”
- Now, open OBS on your system and click on File and settings. Under the streaming section, click on Twitch
- Now, select the server location which is nearer to you. Paste the already copied Stream key
- Now, apply the changes and then, Click on Start Streaming.
- If you now open Twitch, you will be able to witness the preview on the dashboard screen itself.
YouTube
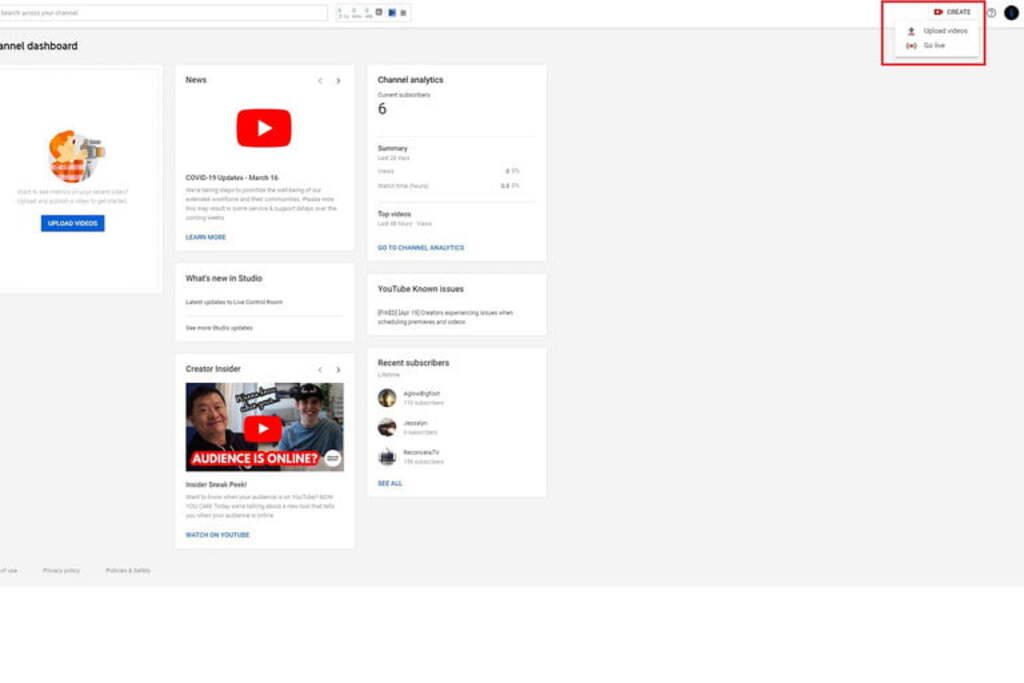
- Open YouTube on your browser and log in with your credentials
- You will see your profile icon on the top-right of your screen. Click on it to access the Creator Studio
- Now, Select New and Go live.
- If you are doing it for the first time, then you will be needed to verify the account.
- After the verification, you will be needed to wait for a period of 24 hours.
- You can then input every minor detail that you want to include. It may include description, thumbnail, etc.
- Now, scroll down and you will see Encoder settings. There, click on the stream key.
- As done in the Twitch, click on the stream key and copy it.
- After copying, go to OBS and paste it under Settings that will be available under File.
- Here, click on YouTube primary. It will be your server and select YouTube as the platform.
- Paste the already copied key here and click on Apply.
- After applying, you can click on Start Streaming.
- As soon as you click, you will be live and the same will be reflected on your YouTube screen. Set the delay as per your choice. Note that if you are just testing, you can click on Private before proceeding.
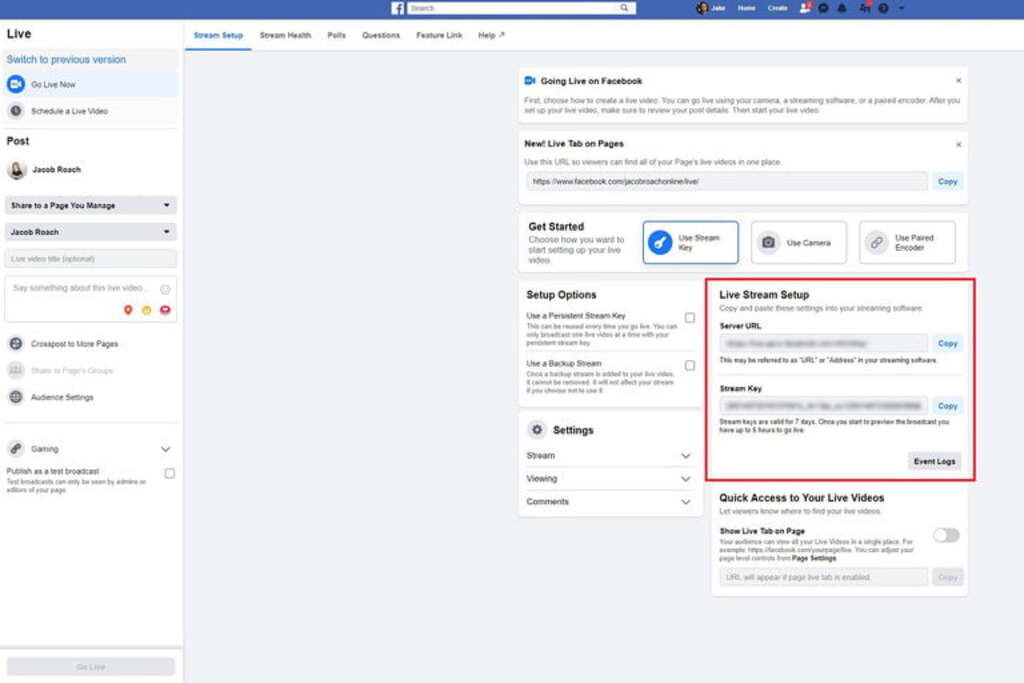
- Log in to your Facebook account using your credentials.
- Now, select the page from which you want to stream the game.
- On the top of your screen, there will be Publishing Tools. Click on it and select Videos.
- Click Live after that.
- A new window will pop after you have clicked on Live. Copy the stream key from the bottom of the window.
- Now, go to OBS and click on File.
- Under File, click on Setting and Stream.
- Here, Facebook live should be selected by you.
- Choose the default server and then, paste the already copied stream key.
- Click on Apply to save the changes.
- On Facebook, enter the information that you wish to display.
- Navigate to OBS and select Start Streaming.
- After you click on Start Streaming, you will be able to see the preview of what the stream would look like.
- You can adjust settings and resolution and video quality from the left of the screen.
- Click Go live and boom, you will be live.
This was all about How to stream Nintendo Switch. We discussed various platforms such as Twitch, Facebook as well as YouTube. Make sure your stream does not lag. If it does, then lower down the resolution or even try to change certain streaming settings. We hope that the article has served its purpose and will help you to stream.
Discover more:


