Minecraft is a wonderful sandbox video game release by Mojang. The game was first released in 2011 and then it got very popular throughout the world and currently, there are nearly 115 million active players. Microsoft purchases it in 2014 and it has update the game with the latest trends and advancements so game lovers are enjoying it even more. If you are a Minecraft enthusiast and love playing the game regularly then you will be knowing that Minecraft keeps crashing on startup.
Many players have ask us the question that why does Minecraft keeps crashing and has request to come up with solutions to fix the issue. So today, we will show you 5 excellent solutions to fix the issue. You have to follow the mention-steps and we ensure that you will get rid of the issue and will play the game successfully again.
Now, let us check the issue in short, and then we will move to the solutions quickly.
What is this Issue all about?
For those of you who don’t know what this issue is, let us inform you that this problem arises when one launches the game. The game gets close upon launching and throws an exception. This is very frustrating and it needs to get fix quickly.
Fix 1: Restart Your Computer

The first and simplest solution is to restart the pc. Restarting pc solves many problems. This issue can also be solve by restarting your computer. Close the game, restart the system and play it again to check if the issue got solve or not.
Fix 2: Update the Game Patches
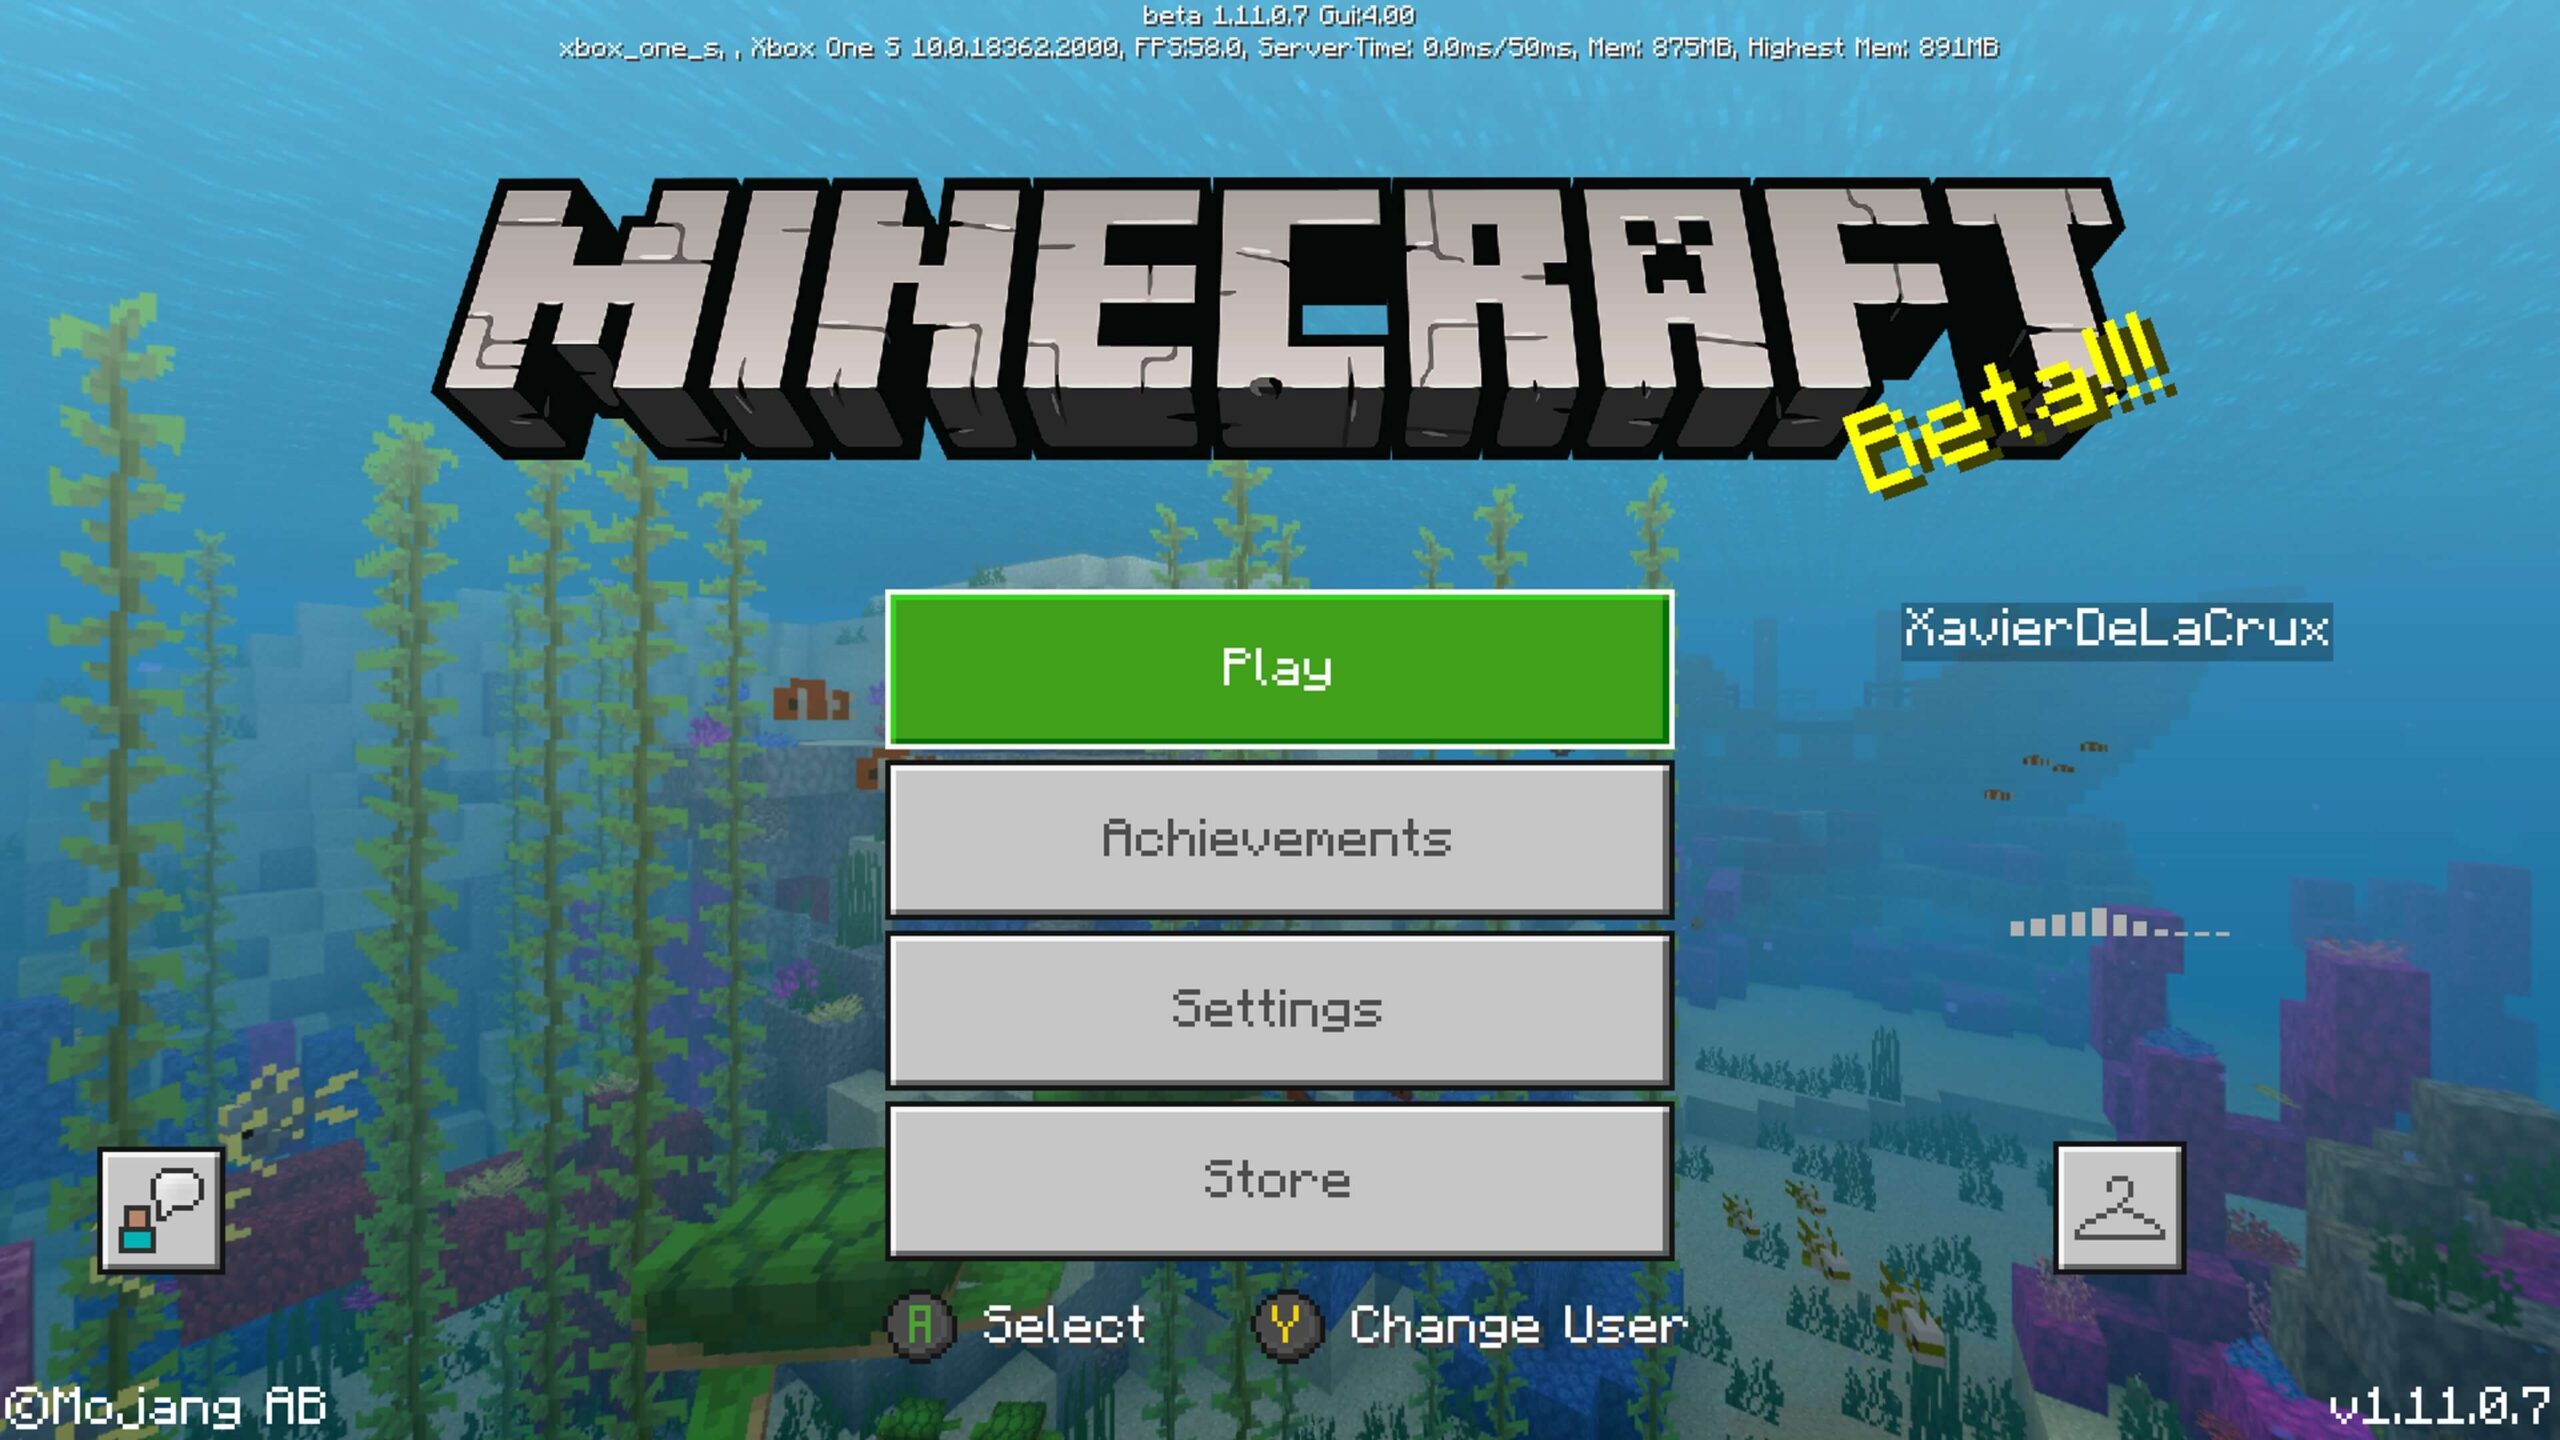
Updating the game will help to remove any bugs. The company keeps on releasing new updates frequently to remove any bugs and to bring new advancements to the game. One should update the game to solve the issue. You can get the latest build on the official website so do download and install it.
Fix 3: Update the Graphics Card Driver
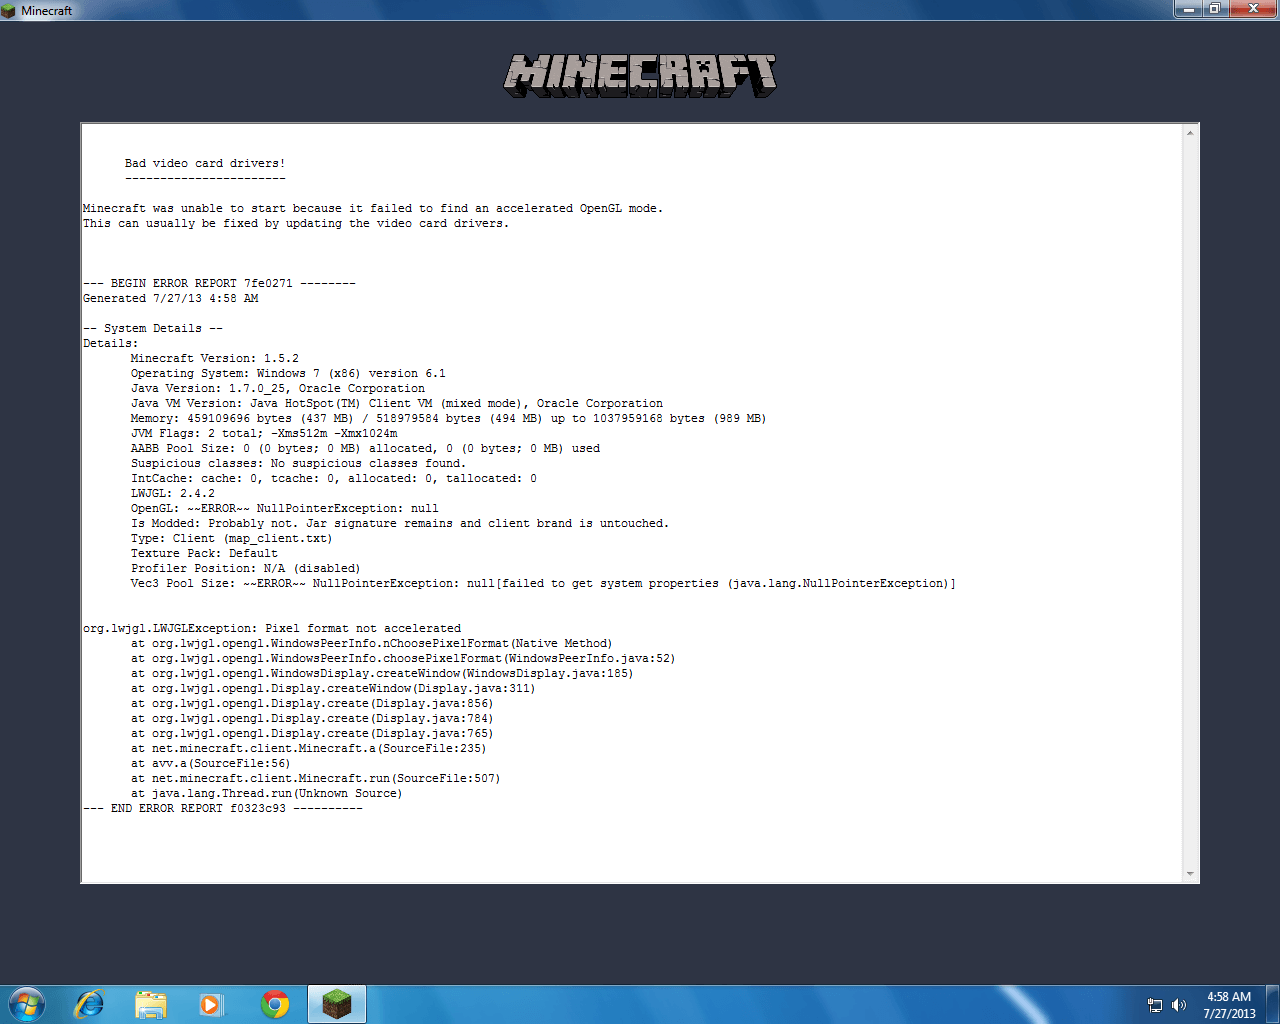
It is very important to keep the graphic drivers up-to-date for running the game smoothly. If your drivers are outdhttps://technographx.com/minecraft-keeps-crashing/ate or missing then there are chances of this issue. You must update them to play the game successfully. You can go for either the manual route or automatic route for updating them.
Manual Route:
If you are techy and know how to manually update the drivers on your own then this route is for you. For this, you need to go to the graphic card manufacturer’s website, locate the correct drivers and then download and install them on your system.
Automatic Route:
There are tools available which you can use to automatically update the drivers. These tools will do the work for you and you have to just sit back and relax.
Just purchase this kind of tool and download and install them on your pc. It will scan your system and find the outdate or missing drivers and it will ask you for permission to download these drivers and you have to simply grant it and that’s it, those missing drivers will be download and install.
You won’t need to mess with the complexity of getting the drivers on your own as the tool will do the work for you. This way there will be no tension of getting the wrong drivers install on your system.
After performing all the steps, run the game and check if the Minecraft server keeps crashing issue got solve or not.
Fix 4: Stop Overclocking Your CPU
Many gamers have the habit of overclocking the CPU to enjoy the game more but this can result in an issue so stop overclocking the game if you are doing it currently.
For those of you who don’t know what overclocking is, let us make you know that it is an act of increasing the speed of CPU, GPU, or even the memory.
Overclocking will give you more fun while playing the game as the speed of the processor will increase eventually giving a smooth game-play but due to it, there are chances of the game crashing so you should better avoid it.
To fix the issue, set the clock speed rate of the CPU and GPU both to default. Now, play the game and see whether the issue got fixed or not.
Fix 5: Configure the Correct Settings
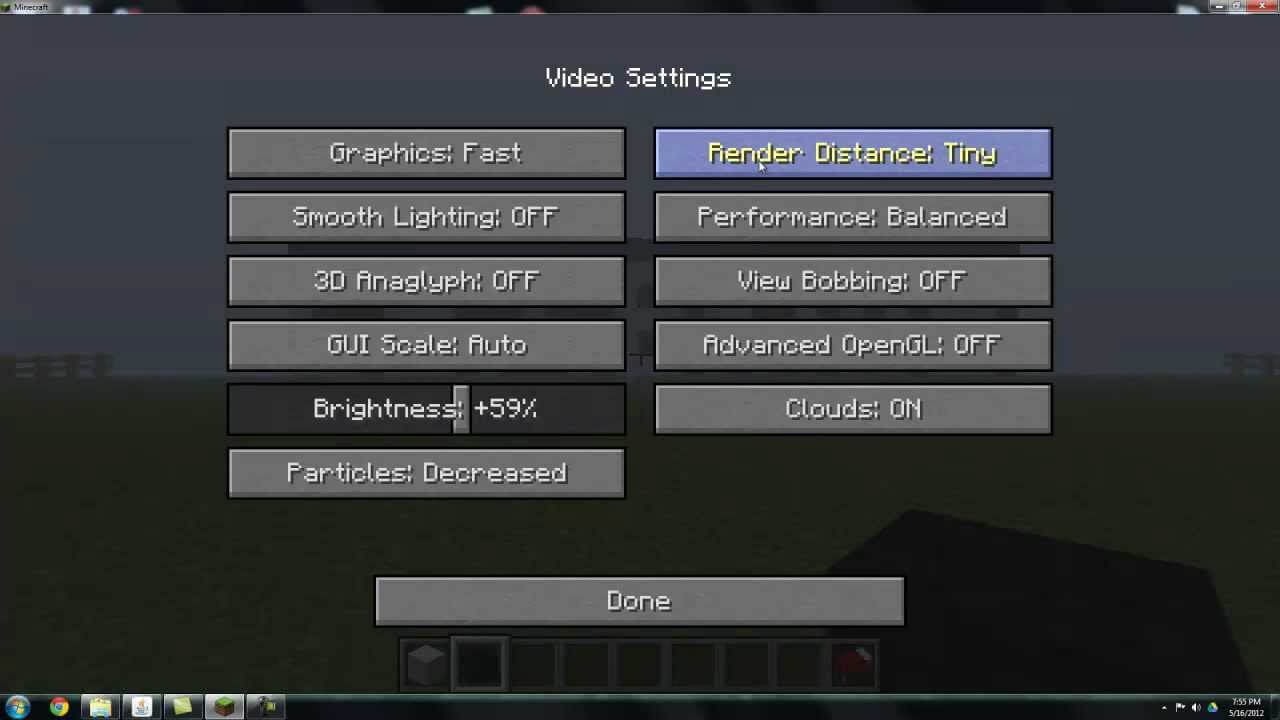
Another reason for the issue is the enabling of the VBOs. Enabling VBOs can crash the game so you need to turn off the settings to play the game. Let us check the methods for turning off this setting.
Basically, there are two methods for turning off this setting. The first method we will check out is turning off VBOs in the Minecraft settings and the other one is to turn off VBOs in the Minecraft file.
Method 1: Turn off VBOs in your Minecraft Settings
This method will work only if you can successfully launch the game before it crashes as you need to go to the settings. Launch the game and then follow the below steps.
1) Go to Settings and then go to Video Settings.
2) Here, you will see a setting named “Use VBOs”, click on it and turn it off. Exit the game after turning it off.
3) Now, restart your system and launch the game again to check whether it worked or not. Play the game for some time to check whether it crashes or it runs perfectly fine.
Method 2: Turn off VBOs in your Minecraft file
If your game crashes as soon as you open it then you can’t change the VBOs settings from inside and have to mandatory go for this method to fix the issue.
There will be a file named Minecraft options.txt file, you can change the settings from there. Let us follow the steps mentioned below to get rid of the issue.
1) First of all, open the Run box and type %APPDATA%\.minecraft in it and click OK. This will open the .minecraft folder.
2) Here, you have to look for the options .txt file and open it.
3) There will be different settings listed here. One set will be the useVbo setting. Set its value to false.
4) Now, save the file and close it, restart the system and launch the game to see whether it worked or not. If the issue is resulting due to the VBO setting then it will get solved definitely.
Get the solutions for solving Warframe Network Not Responding error.
Conclusion
So, here were the solutions to fix the Minecraft keeps crashing issue. Follow every solution properly and get rid of the issue today. After you fix the issue, you will play the game with even more excitement and enthusiasm for sure.
Keep reading:

