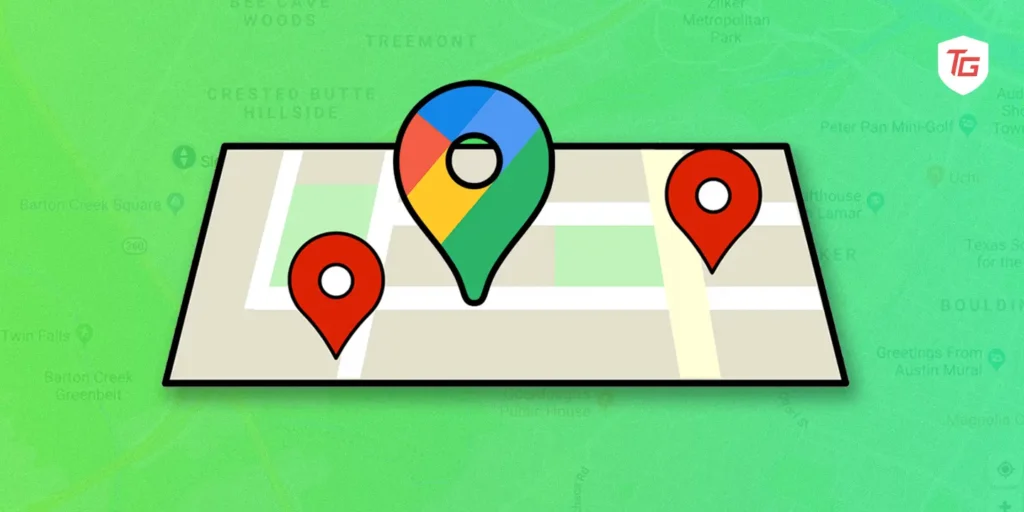
One of the most useful features on digital maps is the function to drop a pin, which can quickly enable you to mark locations, specify destinations or bookmark points of interest. Those who love traveling or want to learn more about their local environment will find mastering Google Maps’ pins highly rewarding. But all this special-function stuff can be a little overwhelming.
No need to worry, we’ll explore the details of dropping pins on Google Maps so you can make your journey more personal. Do you feel like going on an adventure? Now let us drop those pins and proceed through the world confidently once again.
How to Drop a Pin in Google Maps on iPhone
One of the easiest ways to bookmark or just remember a location on iOS devices is to simply drop a pin next to the location line. Google Maps also allows users to add labels or bookmark their location when they drop a pin.
Additionally, Google Maps is already installed on all Android devices. You do not have to install it like you would any other app. But on an iOS device, you must download and install it from the App Store. To drop a pin,
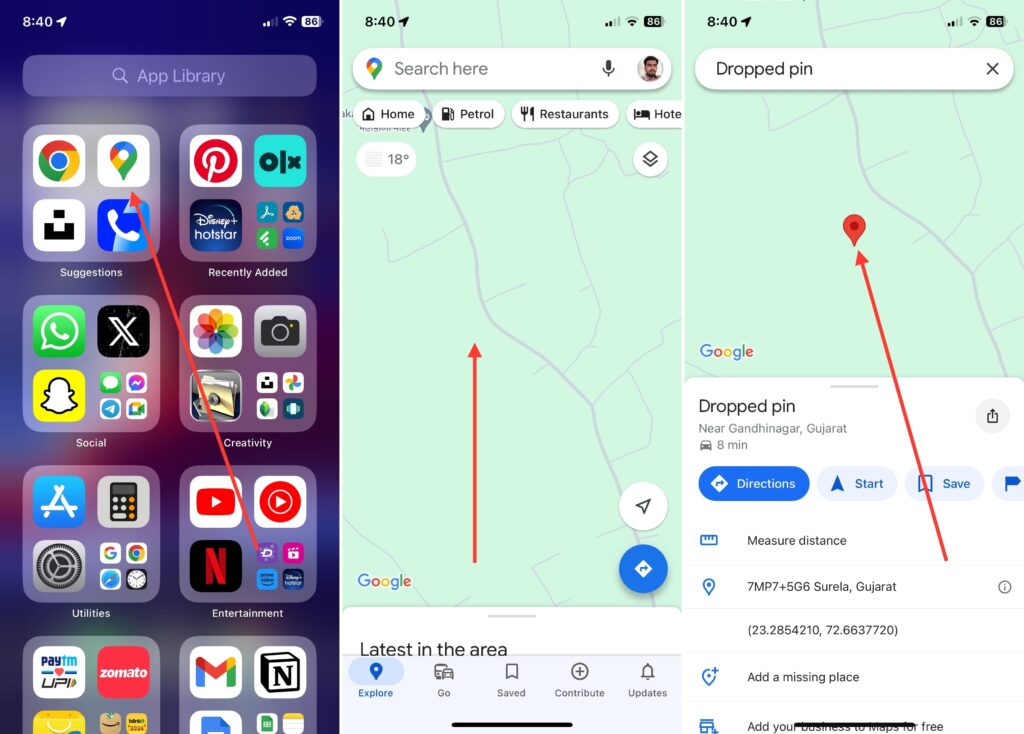
1. Open the Google Maps app on your iOS device. ( Log in to your Google account )
2. Search for the location or manually navigate to the spot you want to mark.
3. Long-press on the map at your chosen location until a red pin appears.
4. In the end, release your finger to drop the pin.
5. Tap the dropped pin to access more options, including saving or sharing the location.
Note: The steps for dropping a pin in Google Maps on both Android and iOS devices is almost the same but the steps for both devices differ depending on the operating system.
How to Drop a Pin in Google Maps on Desktop
Marking a specific location on Google Maps is a simple process via desktop, which allows users to mark exact locations. Using this feature can be particularly beneficial for planning routes, bookmarking favorites, or sharing specific locations.
1. Open your choice of web browser on your computer and go to Google Maps.
2. Use the search bar to find the location or browse the map areas to search for the place you want to mark.
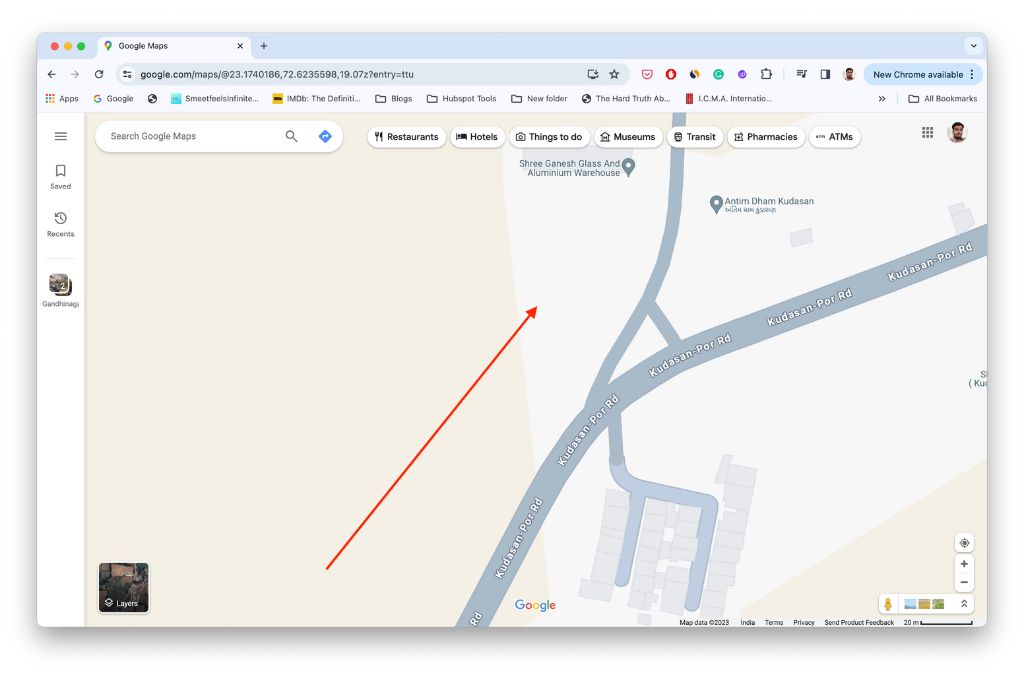
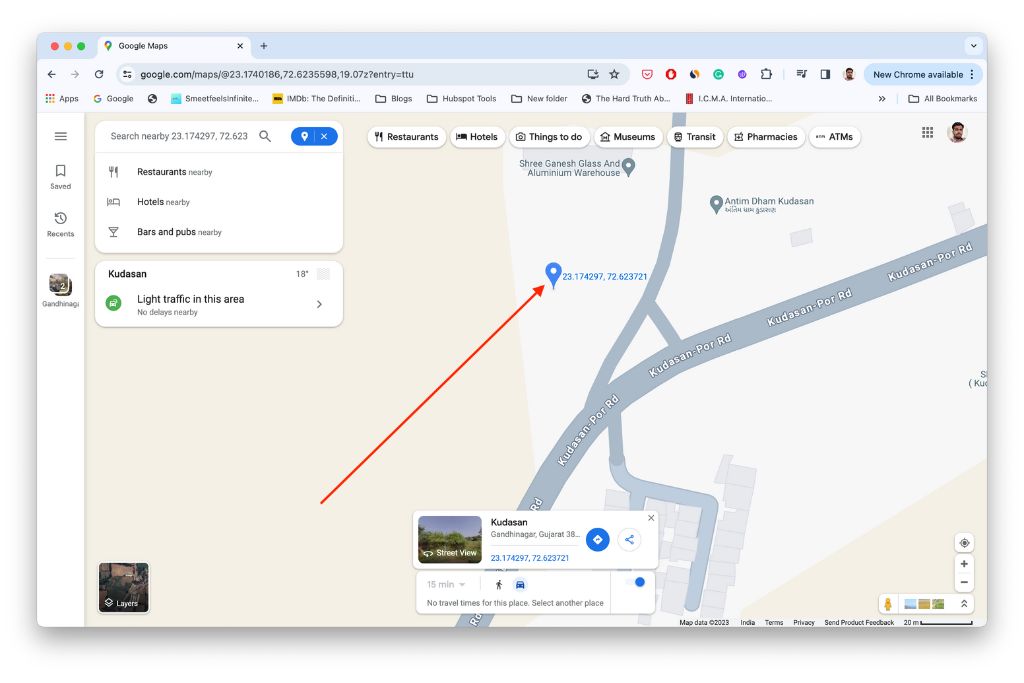
3. Just click on the exact spot on the map where you want to drop the pin.
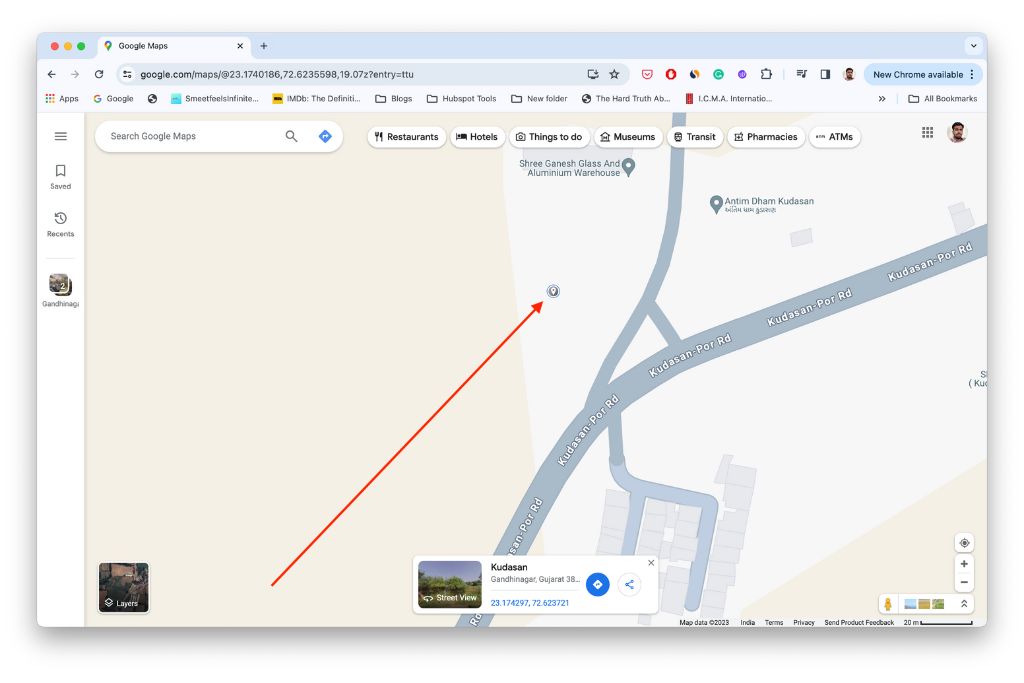
4. Lastly, clicking on the dropped pin gives you access to additional options, like adding labels or saving locations.
How to Drop a Pin in Google Maps on Android
Dropping a pin in the Android version of Google Maps is easy and natural, making it convenient for users to not only note such locations but also retain them. Easily share, label and save marked points of interest by just tapping the mobile app’s user-friendly interface, streamlining the entire experience. Dropping a pin on Google Maps using your Android phone.
1. Launch the Google Maps app on your device.
2. Now, search for the location or explore the map manually.
3. Long-press on the map at the desired location until a red pin appears.
4. Lastly, place the pin using your finger.
5. Tap the dropped pin to get directions or label the location.
Tips to Make the Most out of Dropped Pins
After dropping a pin in Google Maps, you may need to make use of it later. Here are some ways to maximize the potential of a dropped pin.
1. Label Your Pin
Labels in Google Maps are an excellent way of making sure that you don’t forget specific locations quickly and easily. Whether the site is a treasured restaurant, an important meeting spot, or something just plain fun, adding explanatory labels gives them some context and will help you find your way through the points of interest.
To label your dropped pin, open the Google Maps app and drop a pin at your desired location. Tap that pin to expand your options. Now, choose the Add Label option and then write your custom label or choose from predefined labels like Home, School, or Work.
2. Share Location Using Dropped Pins
The sharing capabilities of the Google Maps app enable you to seamlessly share your dropped pins with friends or colleagues.
To share your new found location, select the location at where you’ve dropped your pin > choose the Share option, and choose the appropriate platform, such as messaging apps, emails, or social networks like WhatsApp and Facebook.
3. Create and Save to Lists
Adding lists is a convenient way to improve the sorting of your saved locations in Google Maps. Lists are handy for planning routes, saving recommendations and keeping your marked destinations in order.
Tap the new pin you just dropped > tap the Save button or tap to save your pins > select New list or add to the existing list, and then tap Finished.
4. Get Directions to Dropped Pin
With Google Maps, you can also find directions to your destination within the system from where you dropped your pin. If you’re taking a road trip, meeting up with someone or exploring new things, you might be taking a road trip. The feature will guide you from step one to step five in a very convenient and stress-free manner.
To get directions from a dropped pin…
Select the dropped pin > and hit the Directions button to map out your route.
5. Offline Download
Offline maps can be downloaded for your dropped pin, and this is a great way to get around places without internet connectivity. Especially during traveling, this feature is very useful. You can rely on your saved pins and routes without relying on real-time data. It boosts your readiness and provides a smooth tale of adventure, even if there is no Internet connection.
To download your map for offline use…
Drop a pin in Google Maps > select that pin > hit the Download offline map button > and press Download to save it.
Conclusion:
Once you’ve mastered the art of dropping a pin on Google Maps, it opens up possibilities for efficient navigation, organization and exploration. This useful feature is so handy no matter if you’re making a road trip, bookmarking your favorite spots, or sharing locations with friends–it doesn’t get more useful than this. Whether on the desktop or your smartphone, it is a very smooth transition which provides users a cross-platform tool for their convenience.
However, the utility doesn’t end there. Tips such as adding labels to pins, creating lists, plotting routes and downloading offline maps give it an extra layer of operation capabilities.
Explore More: